INFLANAR
Inflanar - Influencer Marketing Service Selling Marketplace WordPress Theme
- By: IttihadSoft
- Email: [email protected]
Introduction
Welcome to the world of Inflanar - your gateway to the pinnacle of influencer marketing within the WordPress Theme marketplace.
At Inflanar, we've crafted more than just a theme; we've built a thriving ecosystem dedicated to the art of influence and service selling. Seamlessly connecting influencers with brands, our platform fosters lucrative partnerships within a secure, transparent environment.
With Inflanar, you're not just stepping into the influencer marketing arena; you're taking the lead, forging impactful collaborations one partnership at a time.
Experience the convergence of influence, influencers, and service-based marketing within the Inflanar ecosystem. Our professional, user-friendly interface propels your influencer marketing endeavors to unprecedented heights.
In a world where influence reigns supreme, Inflanar stands as your beacon of opportunity, enabling effortless harnessing of the power of influencer marketing.
Features
INFLANAR has the following features.
Key Features
- WordPress Latest Version
- Redux Framework Theme Option
- Bootstrap 5 is used in design
- User friendly codes and easy to navigate
- Eye-catching and fully responsive design
- Strong security of codes
- Commission base withdraw
- Withdraw and Refund System
- Schedule wise booking system
- Booking Declined Option
- Booking Confirm Request to Admin
- Support Ticket system
- Coupon System
- Blog Social Media share option
- Search service by category, price or custom text
- Subscribe verify with email
- Google analytics
- Facebook pixel
- Google reCaptcha
- Multi Vendor System
- RTL Supported
- Tawk live chat
- Multi Language
- Social Login option
- ERROR Page
- Email Template Setting
- SEO Setting
- Currency Position Set Option
Payment Methods
- Paypal
- Stripe
- Razorpay
- Flutterwave
- Mollie
- Paystack
- Instamojo
- Bank Payment
Admin Features
- 100% secure admin panel
- Service category create/edit/delete
- Service create/edit/delete
- Service management
- Service Booking management
- Service reviews management
- Payment gateway management
- Withdraw method create/edit/delete
- Influencer payment withdraw management
- Client Refund management
- Client management
- Influencer management
- Admin management
- Support Ticket Management
- SEO Settings
- SMTP server mail
- Email configuration and template setting
- Cookie Consent option
- Google Recaptcha option
- Google Analytic option
- Facebook pixel option
- Currency Position Set Option
- Login with social media(facebook,gmail)
- Manage HTTP request Error Page
- General Setting management
- Dynamic Pagination option
- Multi admin creation possible
- All Banner images change option
- Home page management
- About Page management
- FAQ create, edit and delete option
- Terms and Conditions, Privacy Policy Page management
- Custom dynamic pages create, edit and delete option
- Language create/edit/delete
- Subscriber manage with email to subscribers option
- Profile information, photo, password change option
- Forget and reset password option
- Blog Category create, edit and delete option
- Blog create, edit and delete option
- Manage Blog Comments
- Contact message management
- And more...
User Features
- 100% responsive design
- Language switcher
- Nornaml Login system
- Login with facebook and google
- User registration system with email verification
- User Login, forget and reset password option
- Profile information, photo, password change option
- Schedule wise booking system
- See Booking and details.
- Booking Declined and Refund
- Dashboard management
- Review management
- Support Ticket
Influencer Features
- Language switcher
- Nornaml Login system
- Login with facebook and google
- Login, forget and reset password option
- Manage profile
- Change password option
- Booking Management
- Booking Approved
- Booking Confirm Request to Admin
- Booking Declined
- Schedule Management
- Service management
- Service review log
- Manage withdraw request
- Withdraw log
- Support Ticket
Installation on Local Server
You will need to make sure your local server need the following requirements:
- Operating System: Windows, macOS, or Linux
- Web Server: XAMPP or WampServer ( You need to have one of them installed in your local PC/Computer)
- PHP: Version 8 or later
- Database: MySQL
Note: Make sure your local PC Fullfill all the REQUIREMENT or Installed in your computer.
Installing WordPress and Setting Up
1. Download or clone your WordPress Theme from themeforest on your local machine. The installation of this script is super easy. If you can install normal php based scripts on your local host, you can install our script. We will tell you how to install this script step by step.
First, install the WordPress CMS. The installation process may vary depending on your hosting provider
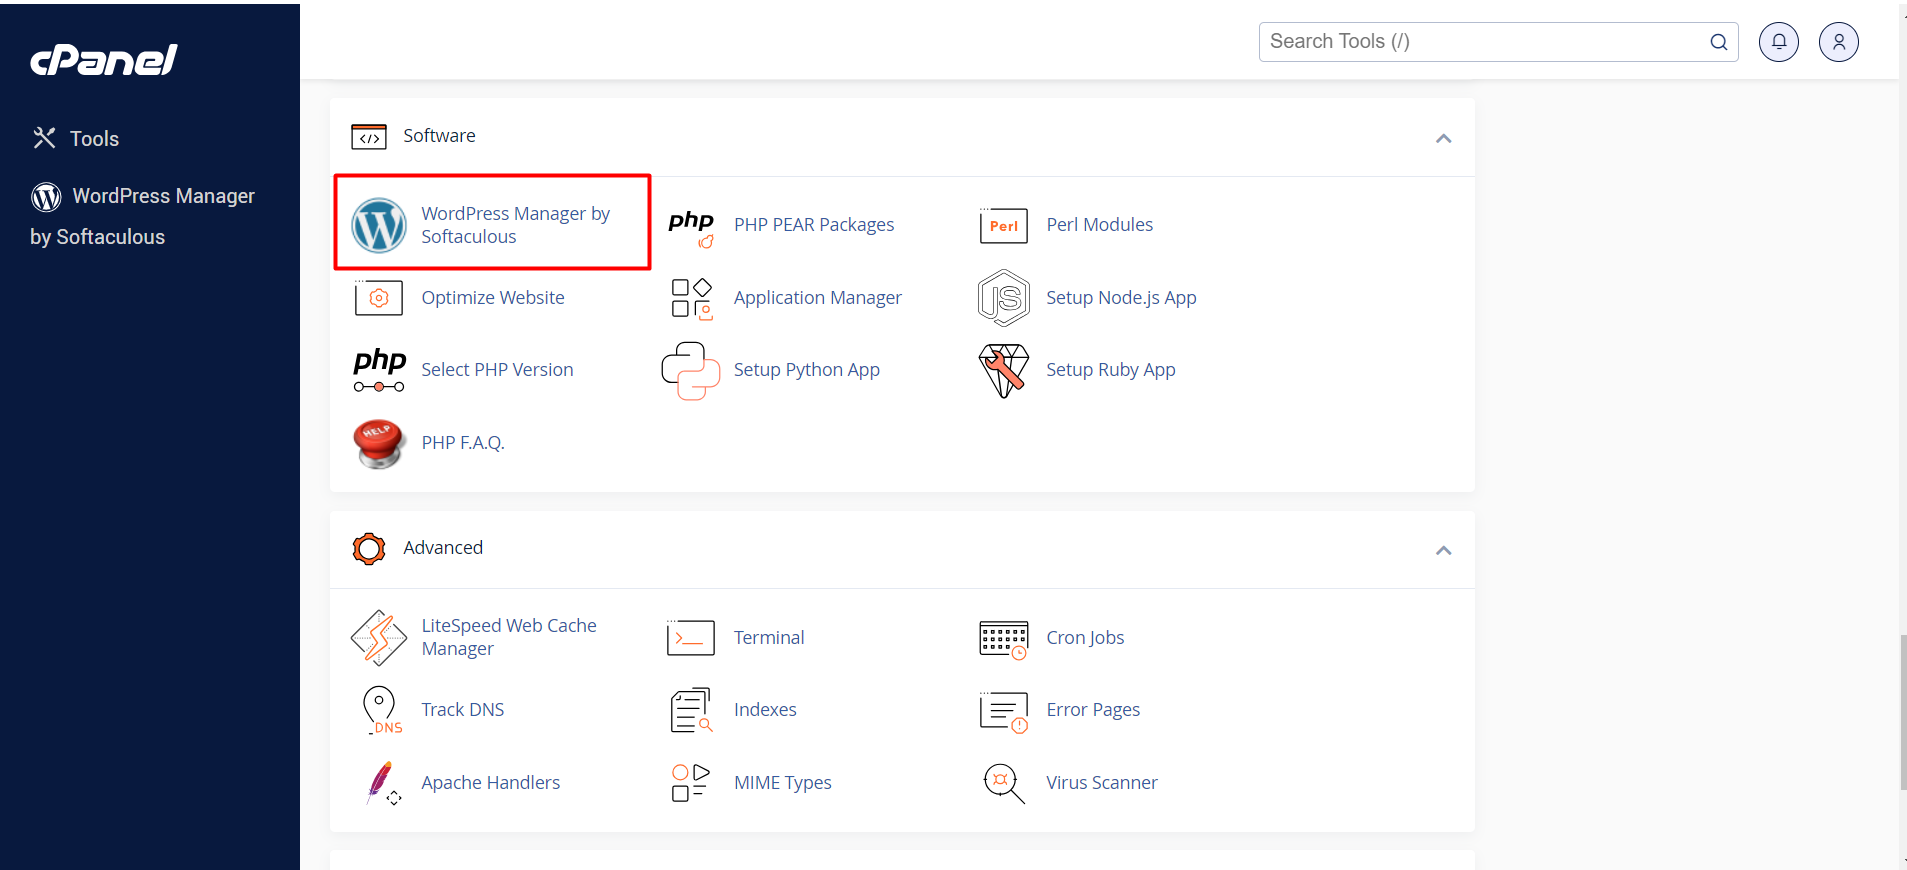
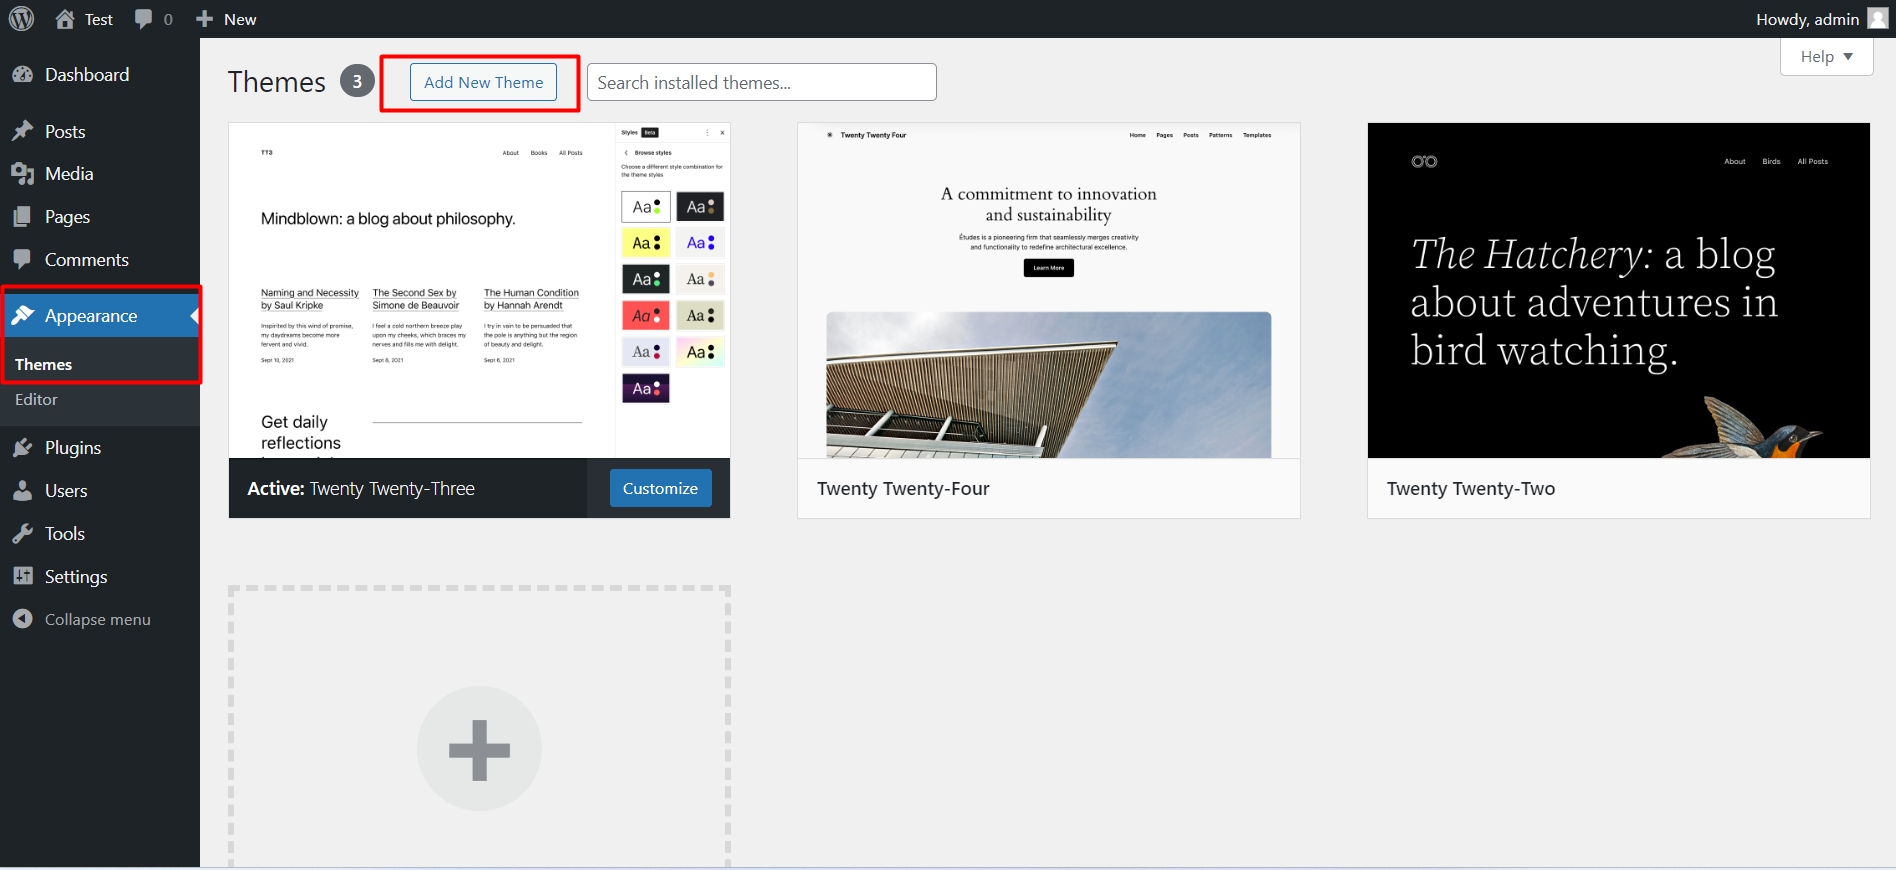
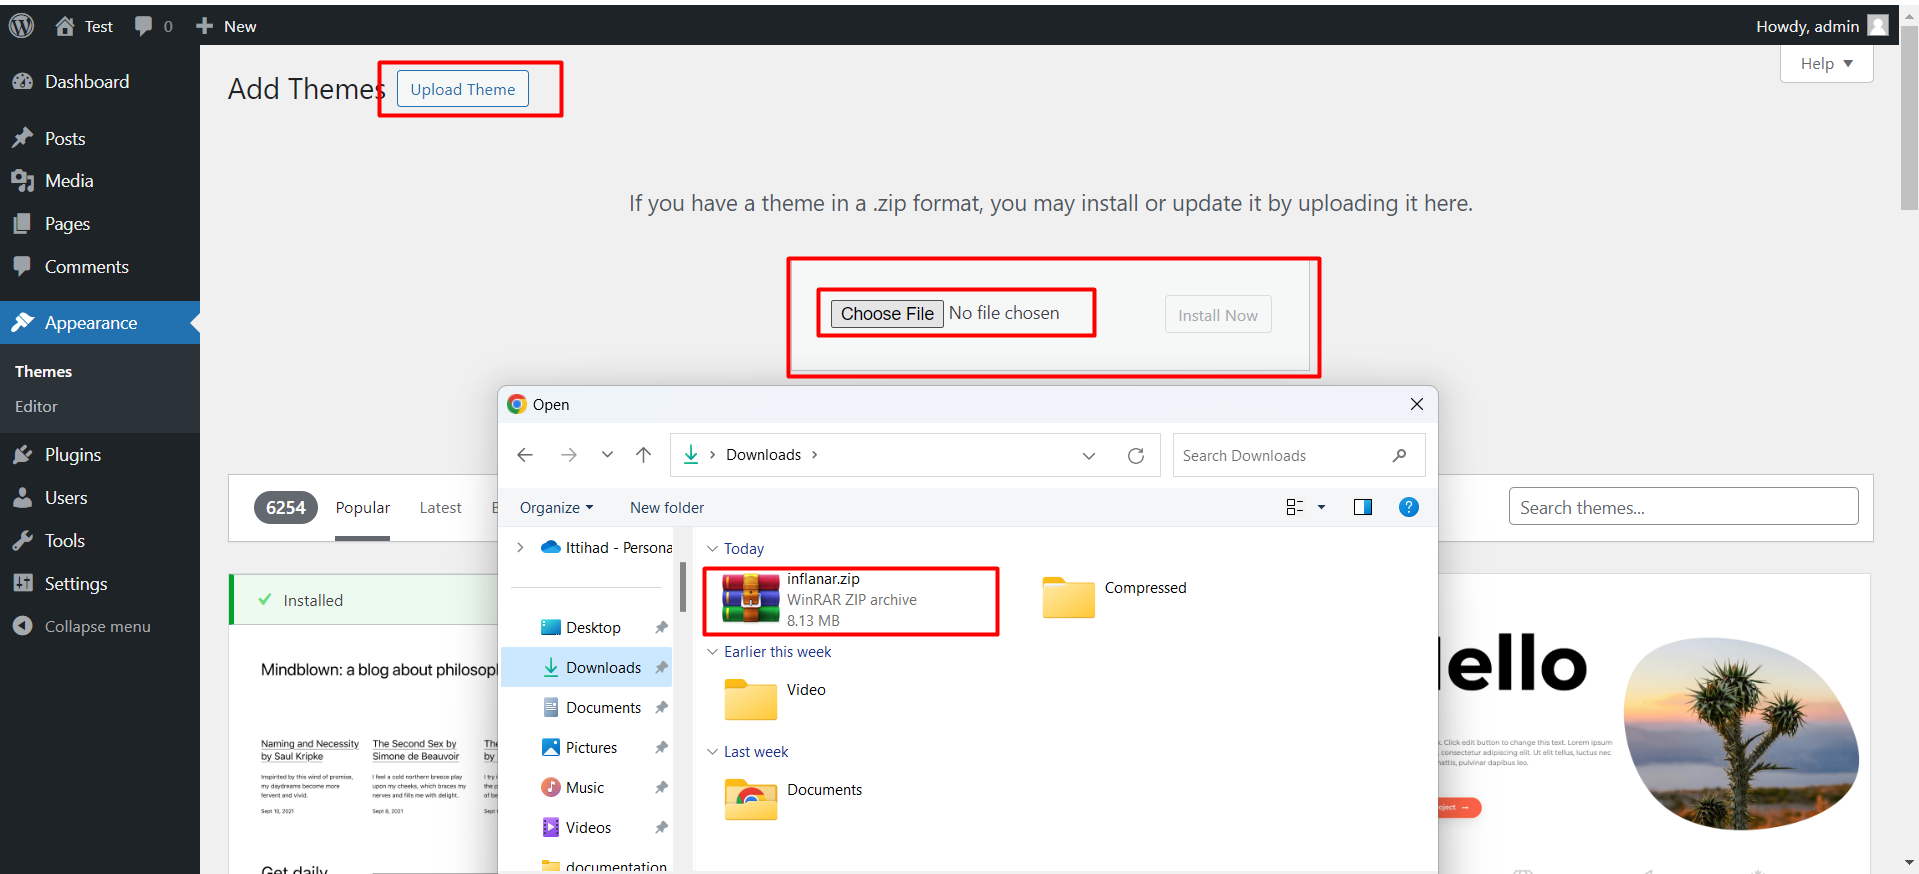
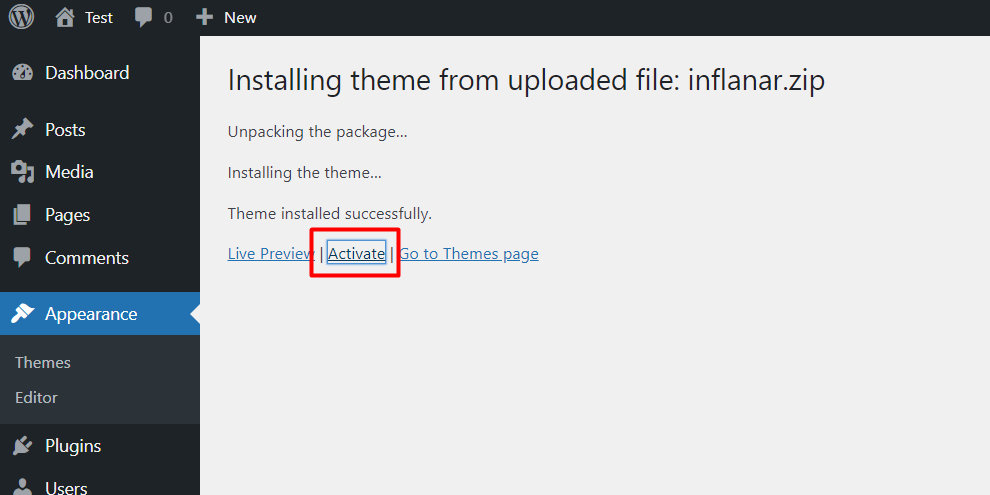
2. After installing WordPress CMS, to install a theme, go to your main domain http://example.com/wp-admin. Then, you will see a wizard like this.
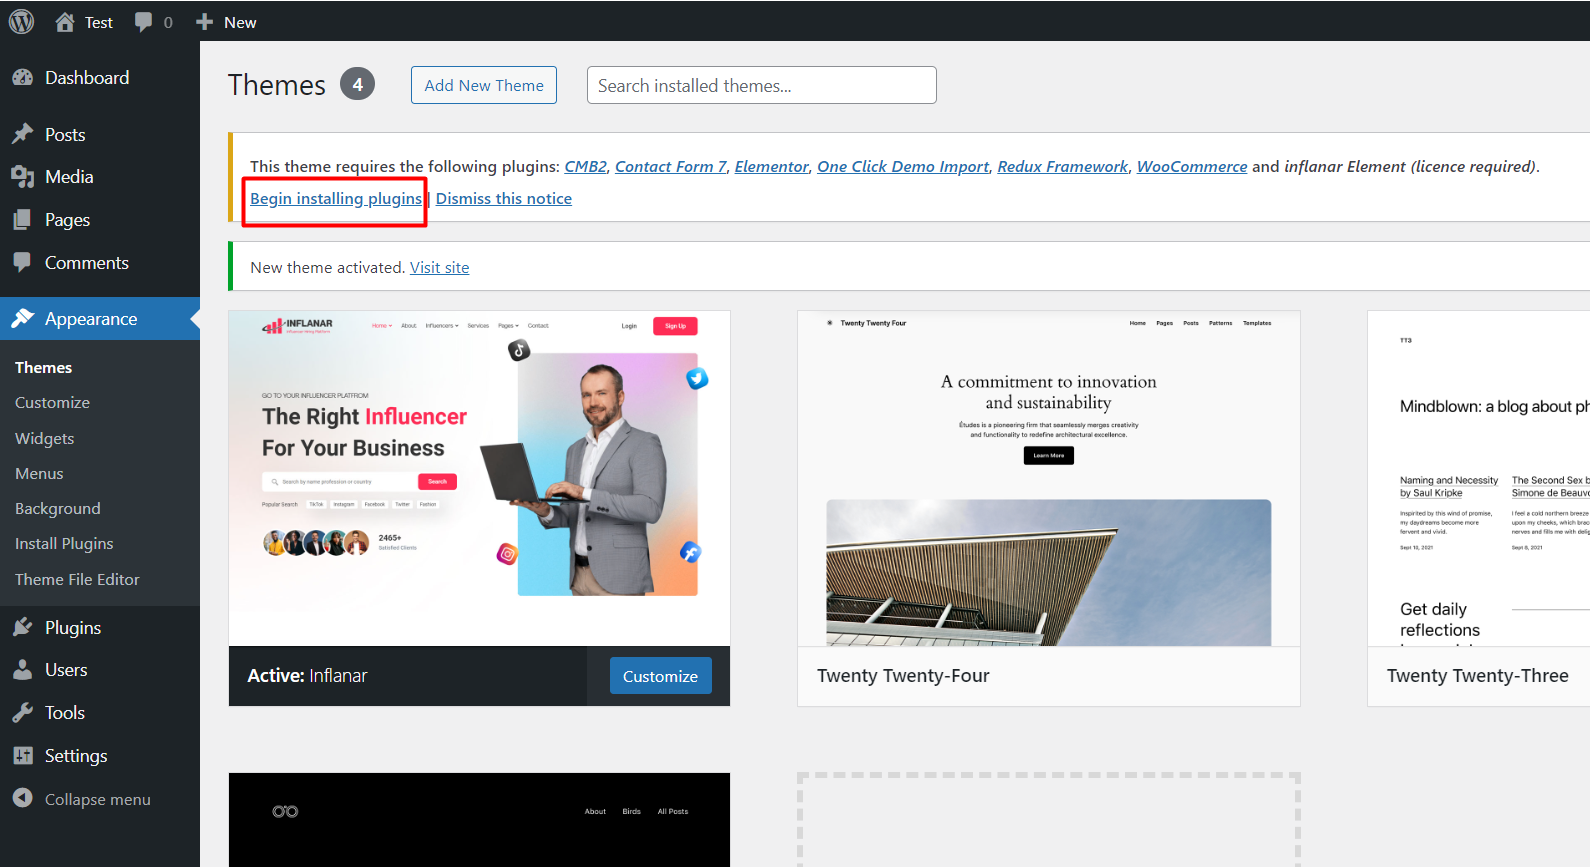
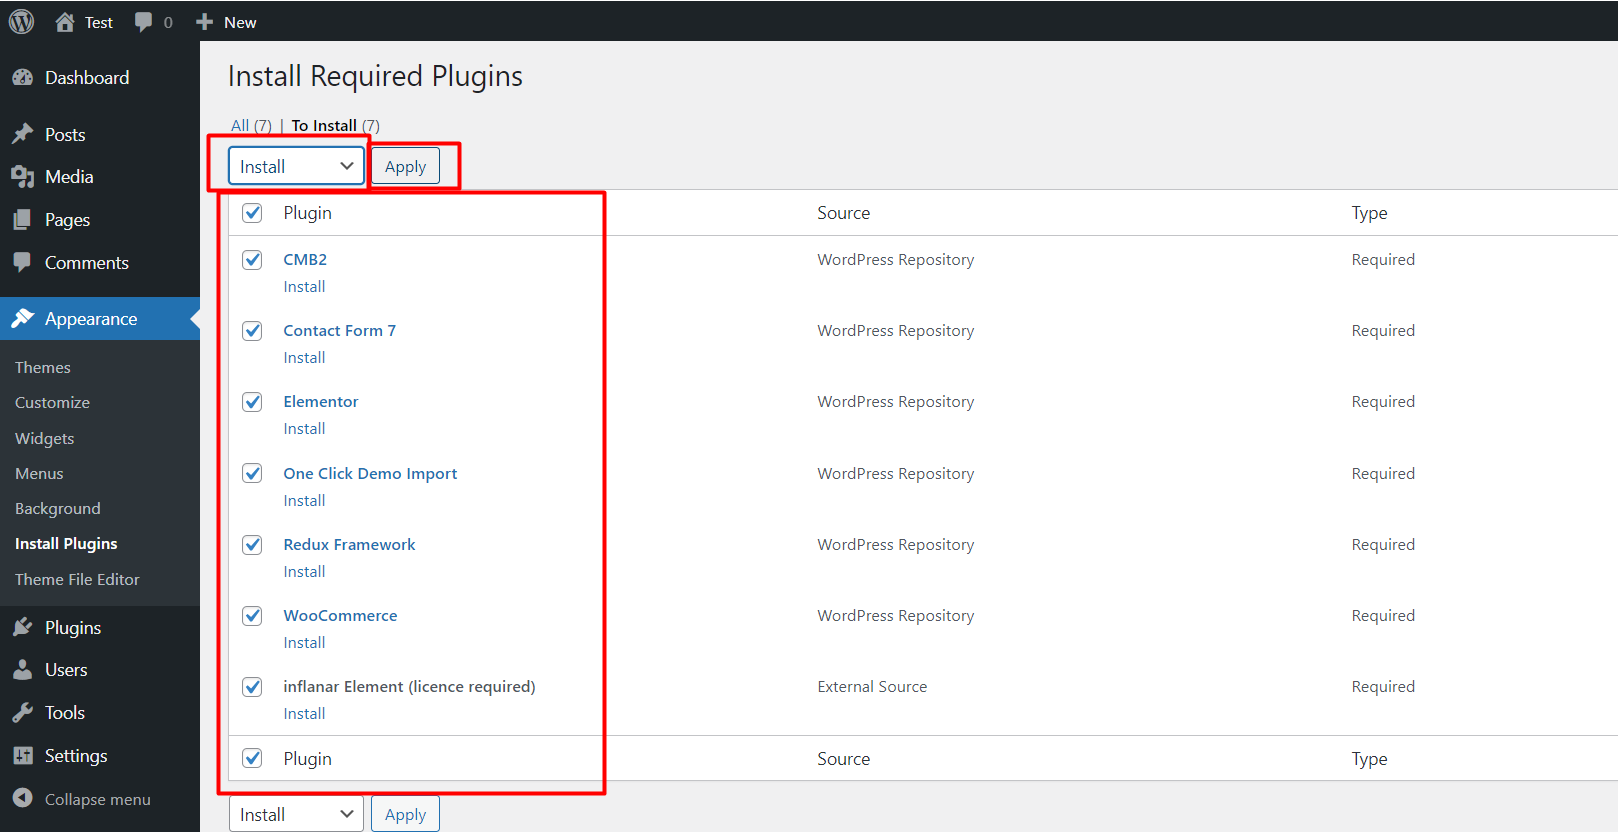
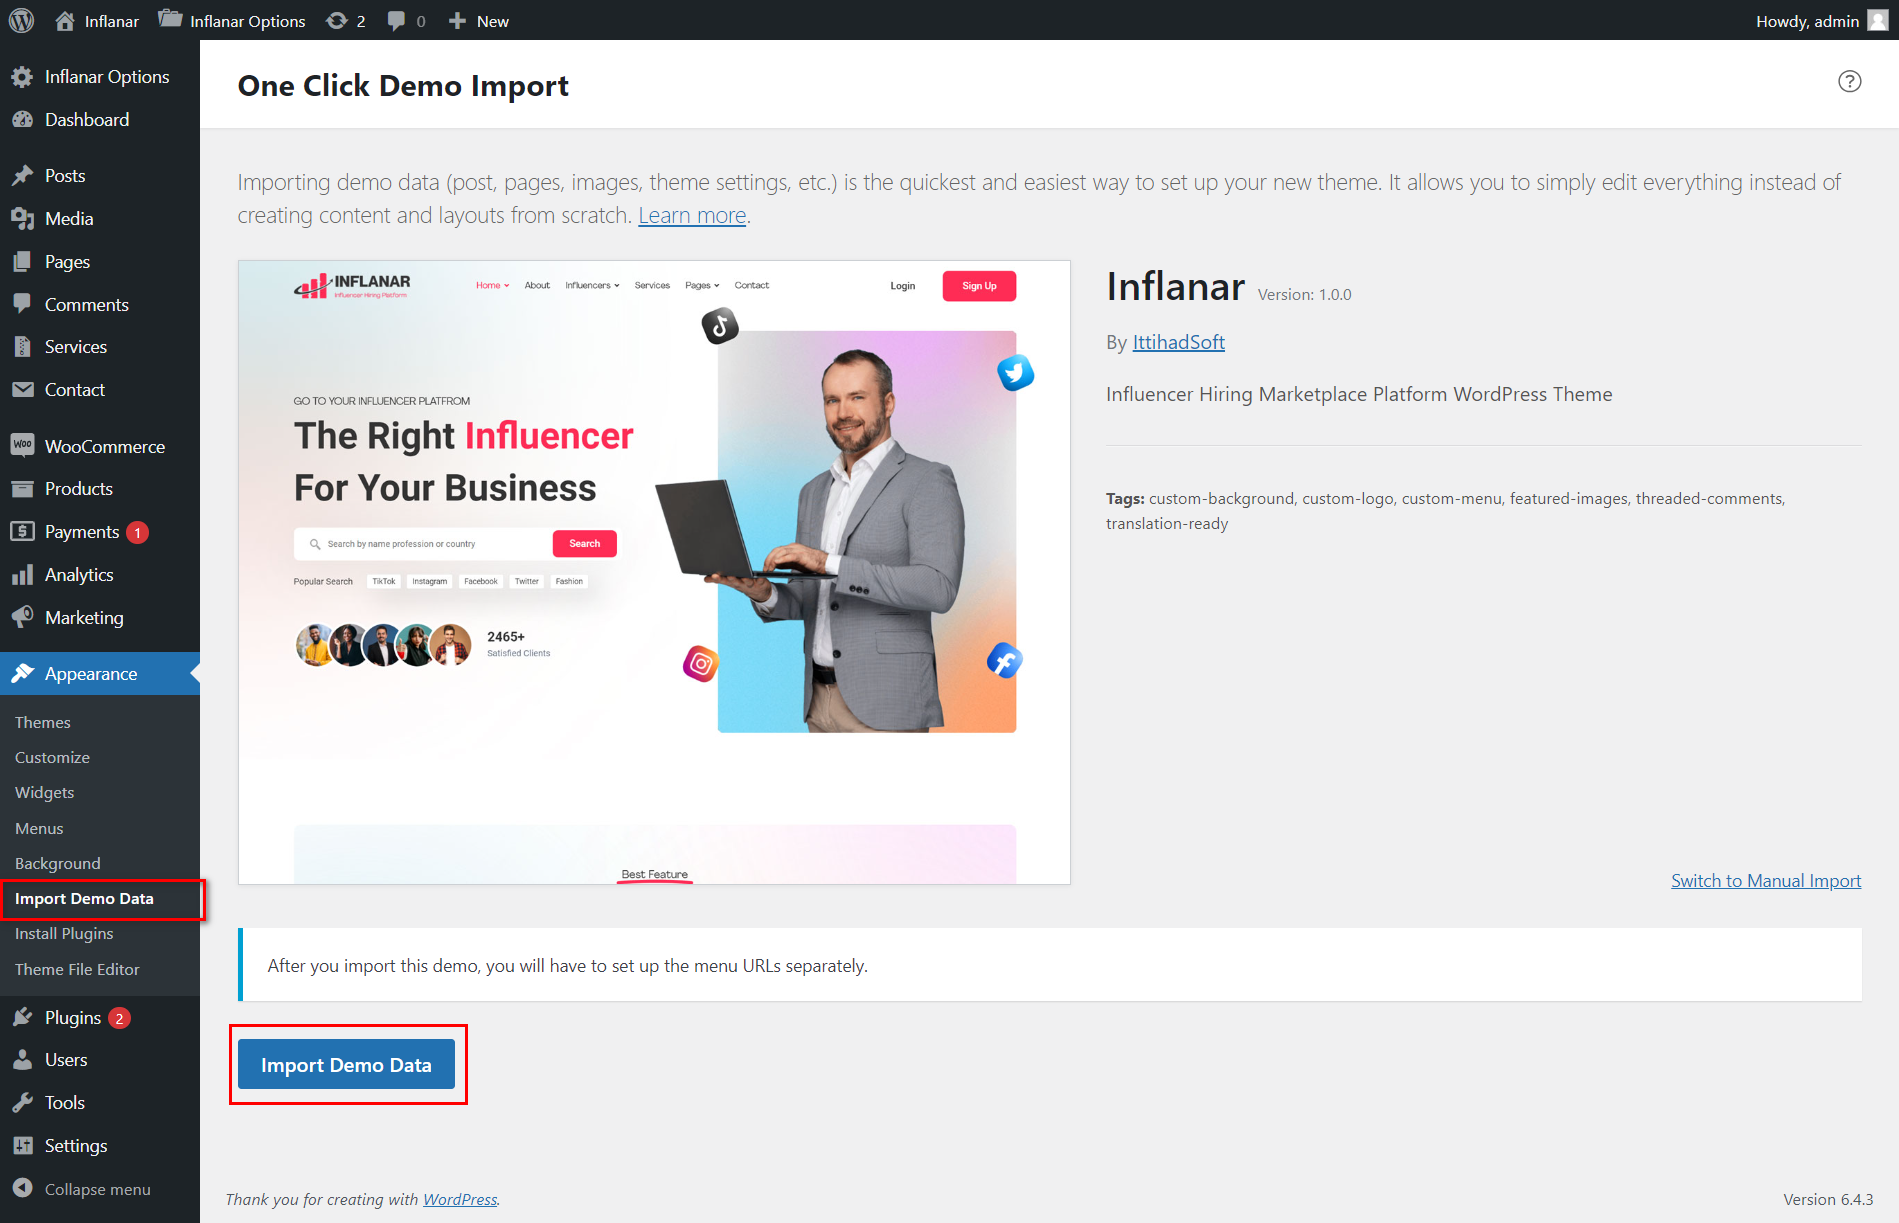
Import Demo
Your theme and necessary plugin installation are complete. now import demo
Requirements
You will need to make sure your server meets the following requirements:
- PHP >= 8.1
Credentials
The default credentials of the script are:
Client Login
URL: https://ittihadsoft.net/wp/inflanar/user/dashboard
Username: matthewanderson
Login Password: 12345
Influencer Login
URL: https://ittihadsoft.net/wp/inflanar/user/dashboard
Username: williammiller
Login Password: 12345
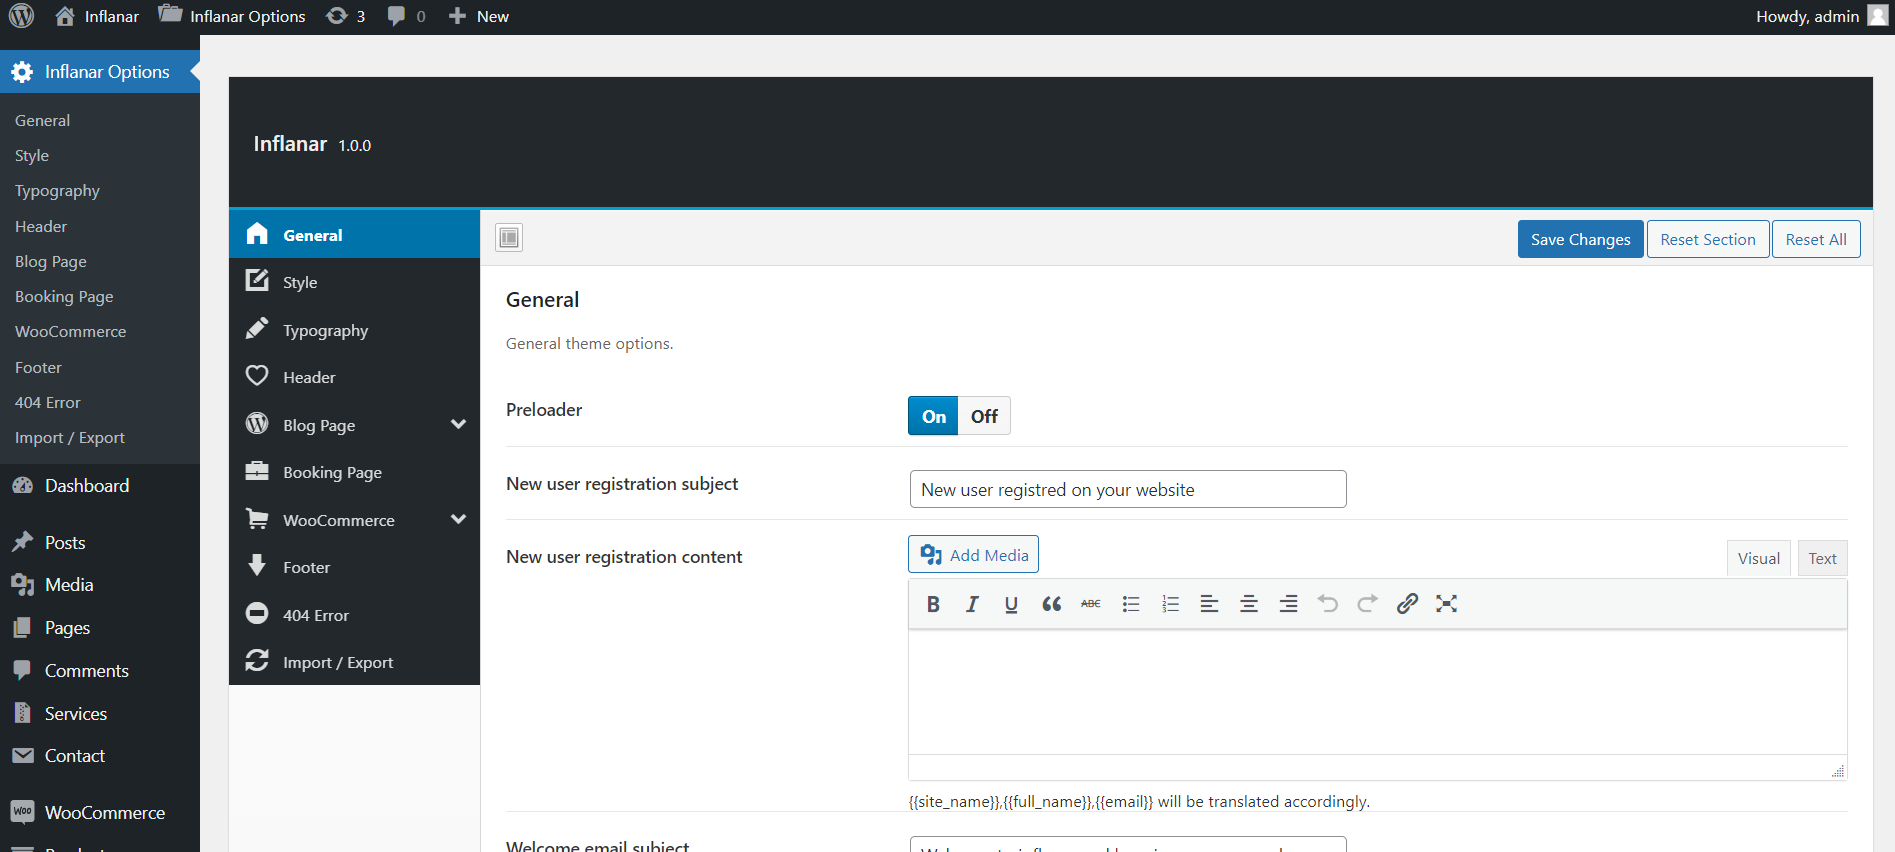
General Settings
Website General Theme Setting can be set up from the admin panel.
Logo and Favicon
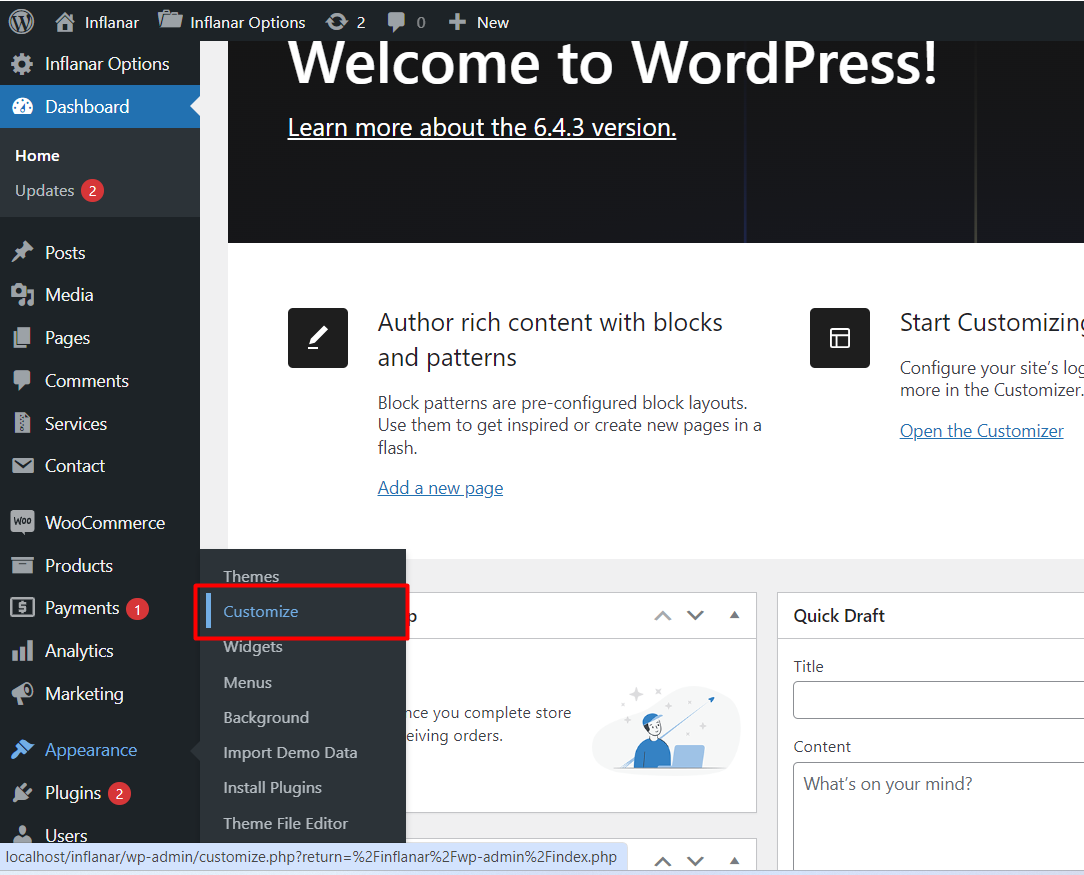
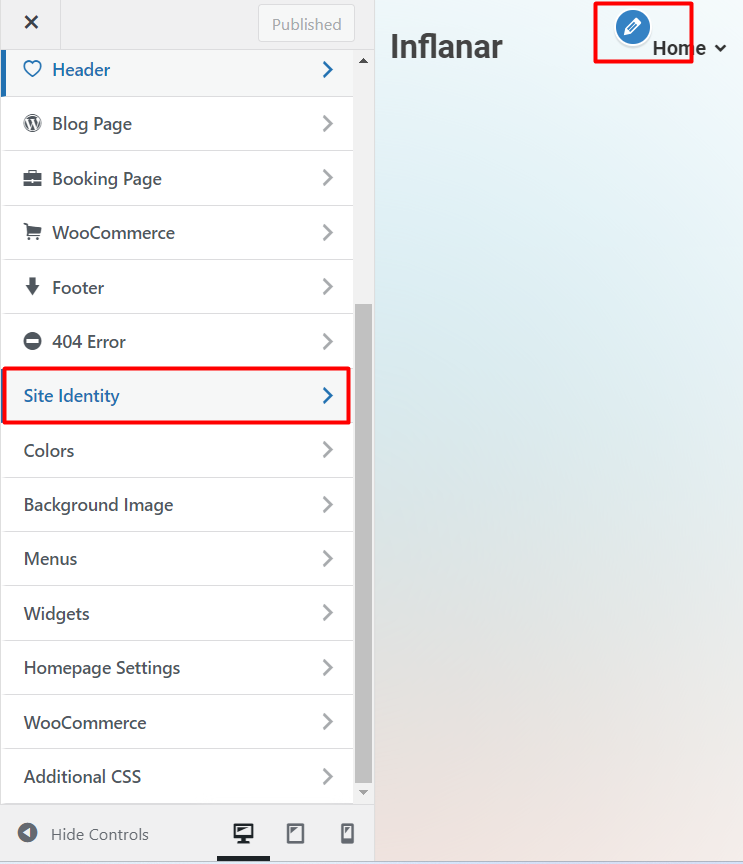
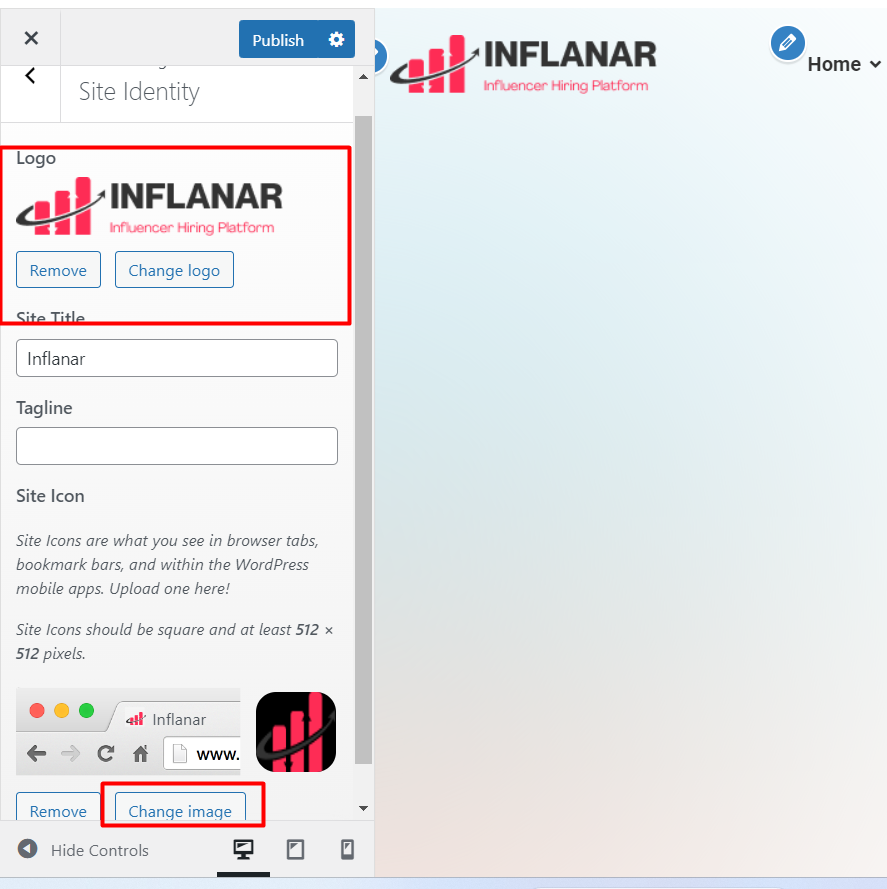
Logo and favicon can be set up from the admin panel. Go to "Appearance > Customize" from the sidebar.
Email Setup
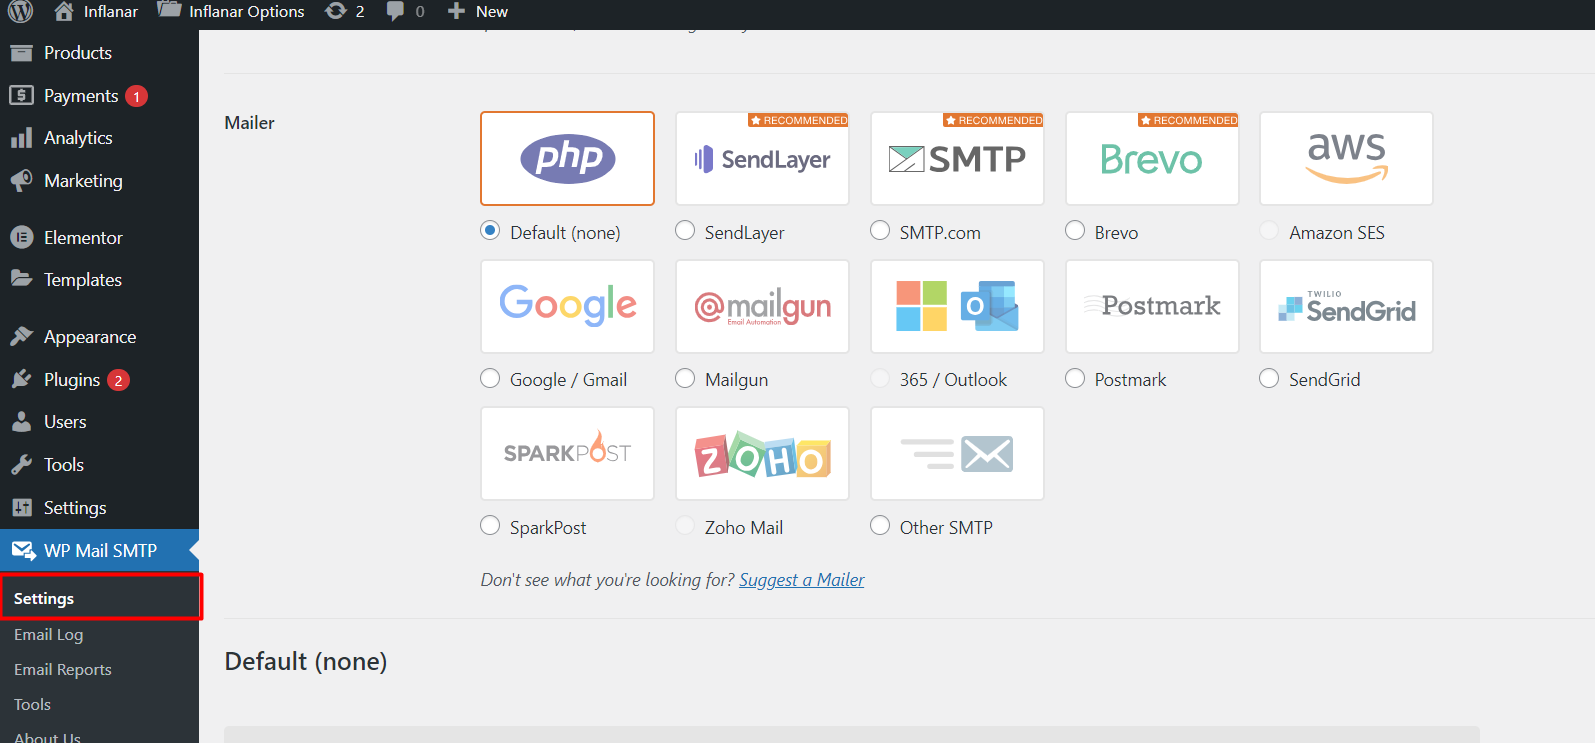
SMTP Email can be set up from the admin panel. Go to "WP Main SMTP > Setting".
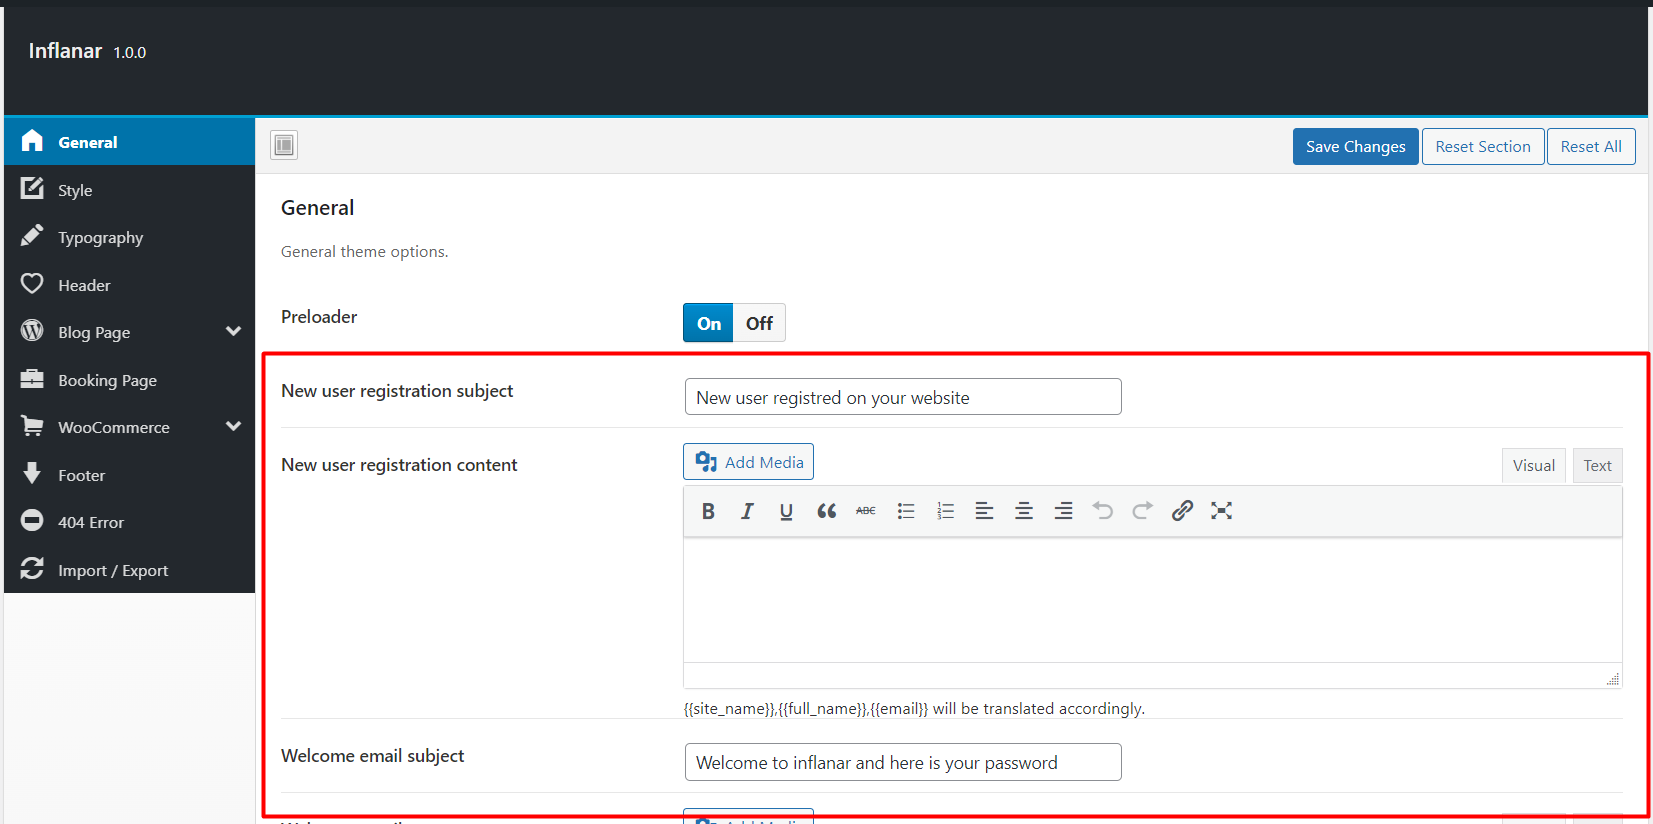
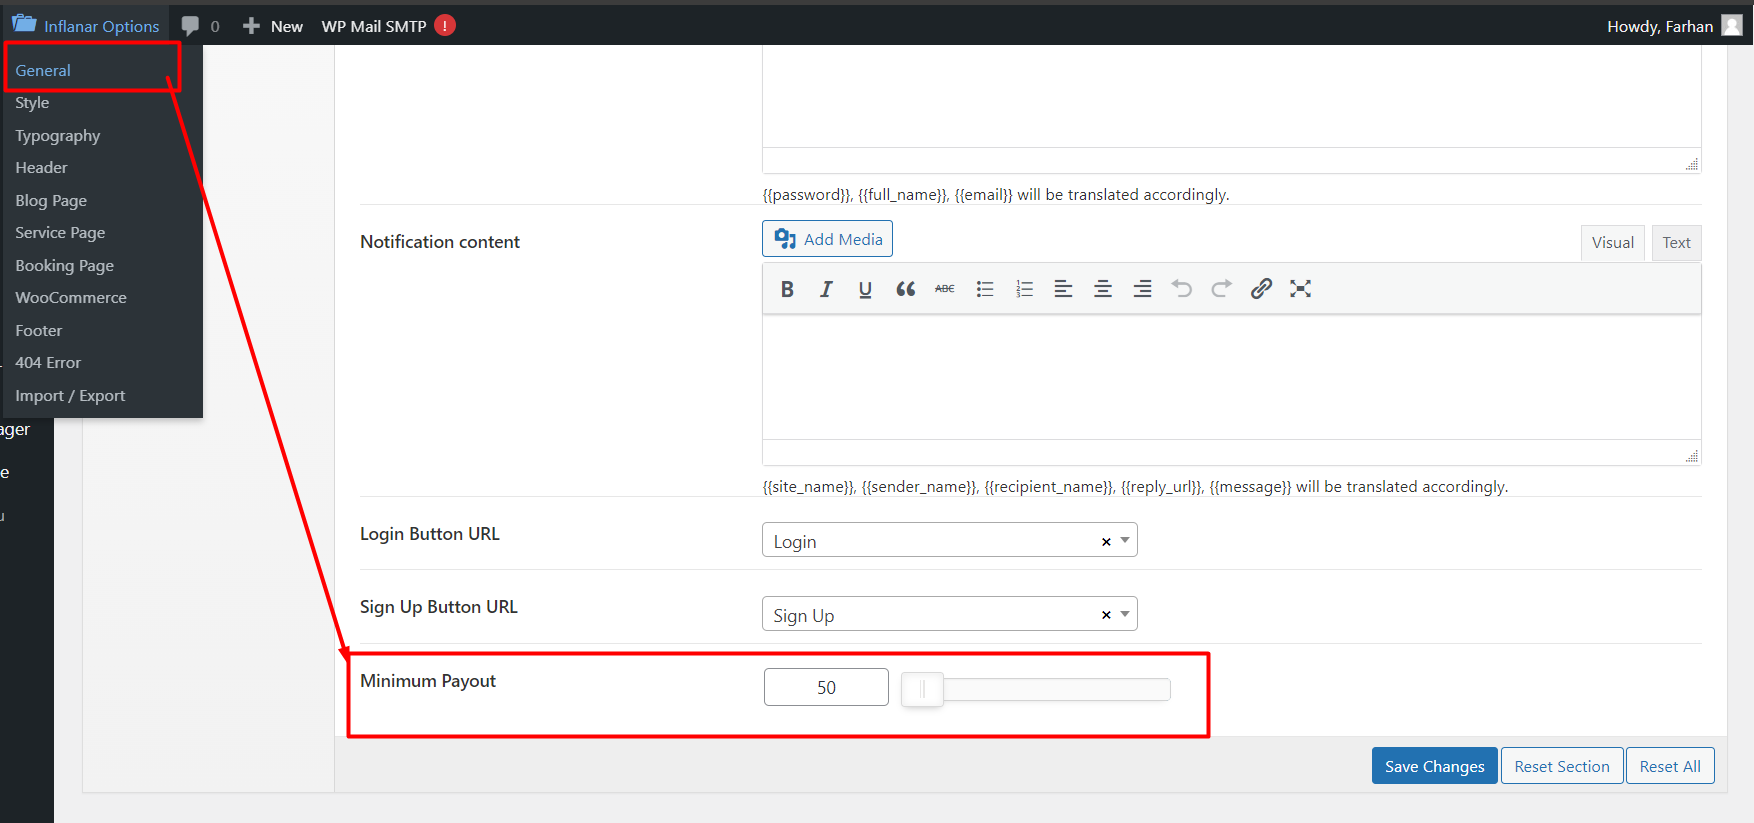
Email template
Email template can be set up from the admin panel. Go to "Inflanar Options > General".
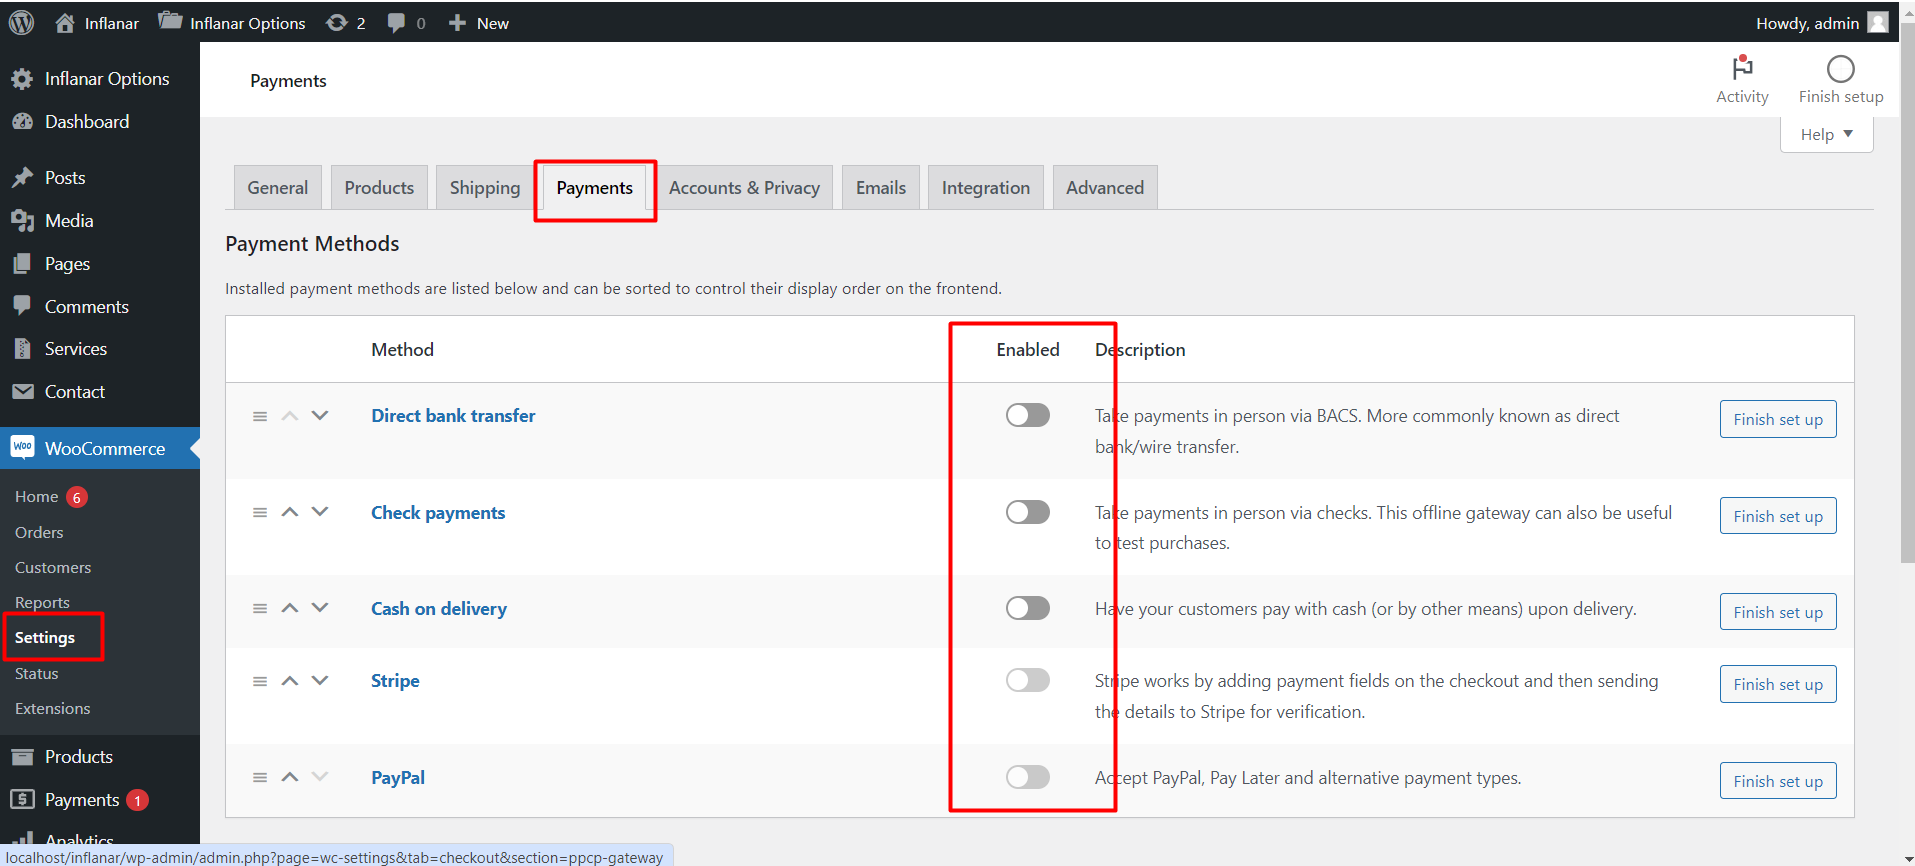
Payment Gateway
Payment Method can be set up from the admin panel. Go to "WooCommerce > Settings > Payments.
Website Language
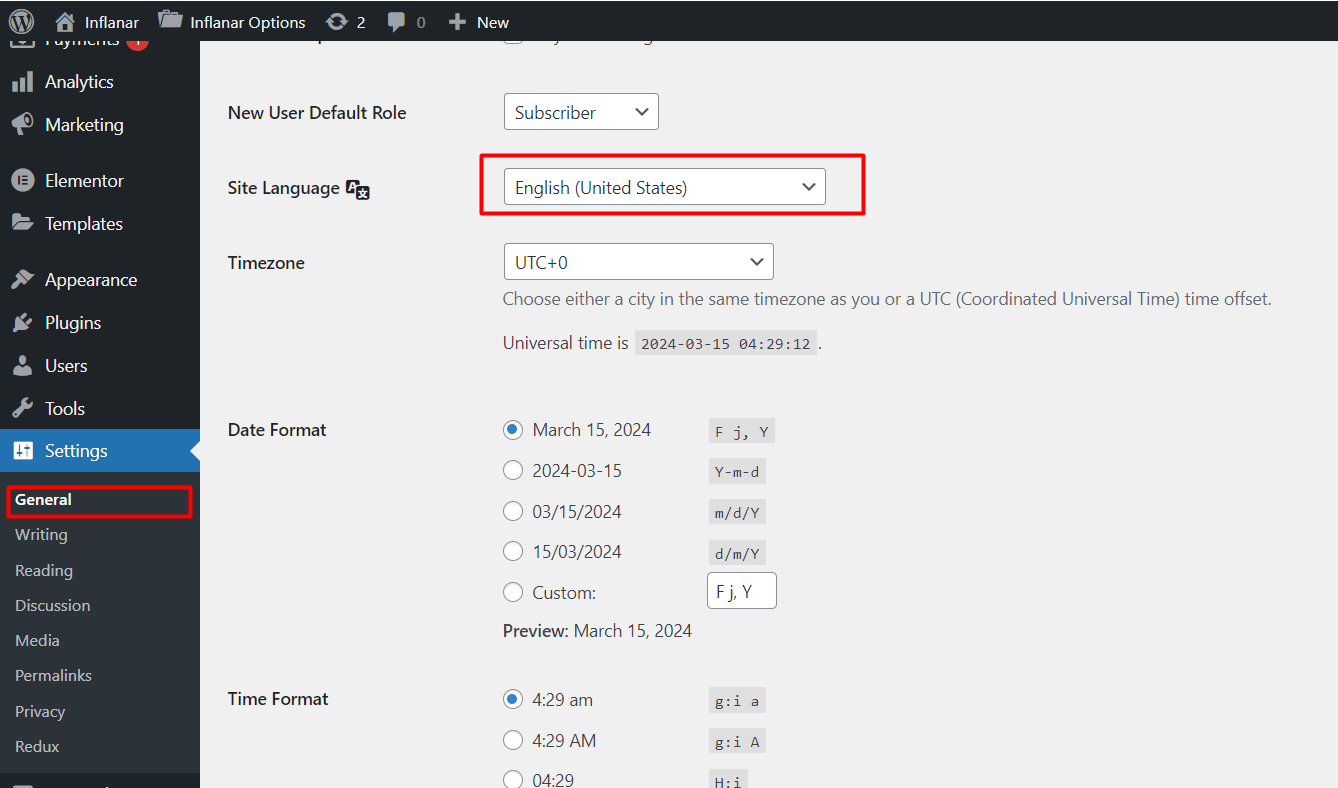
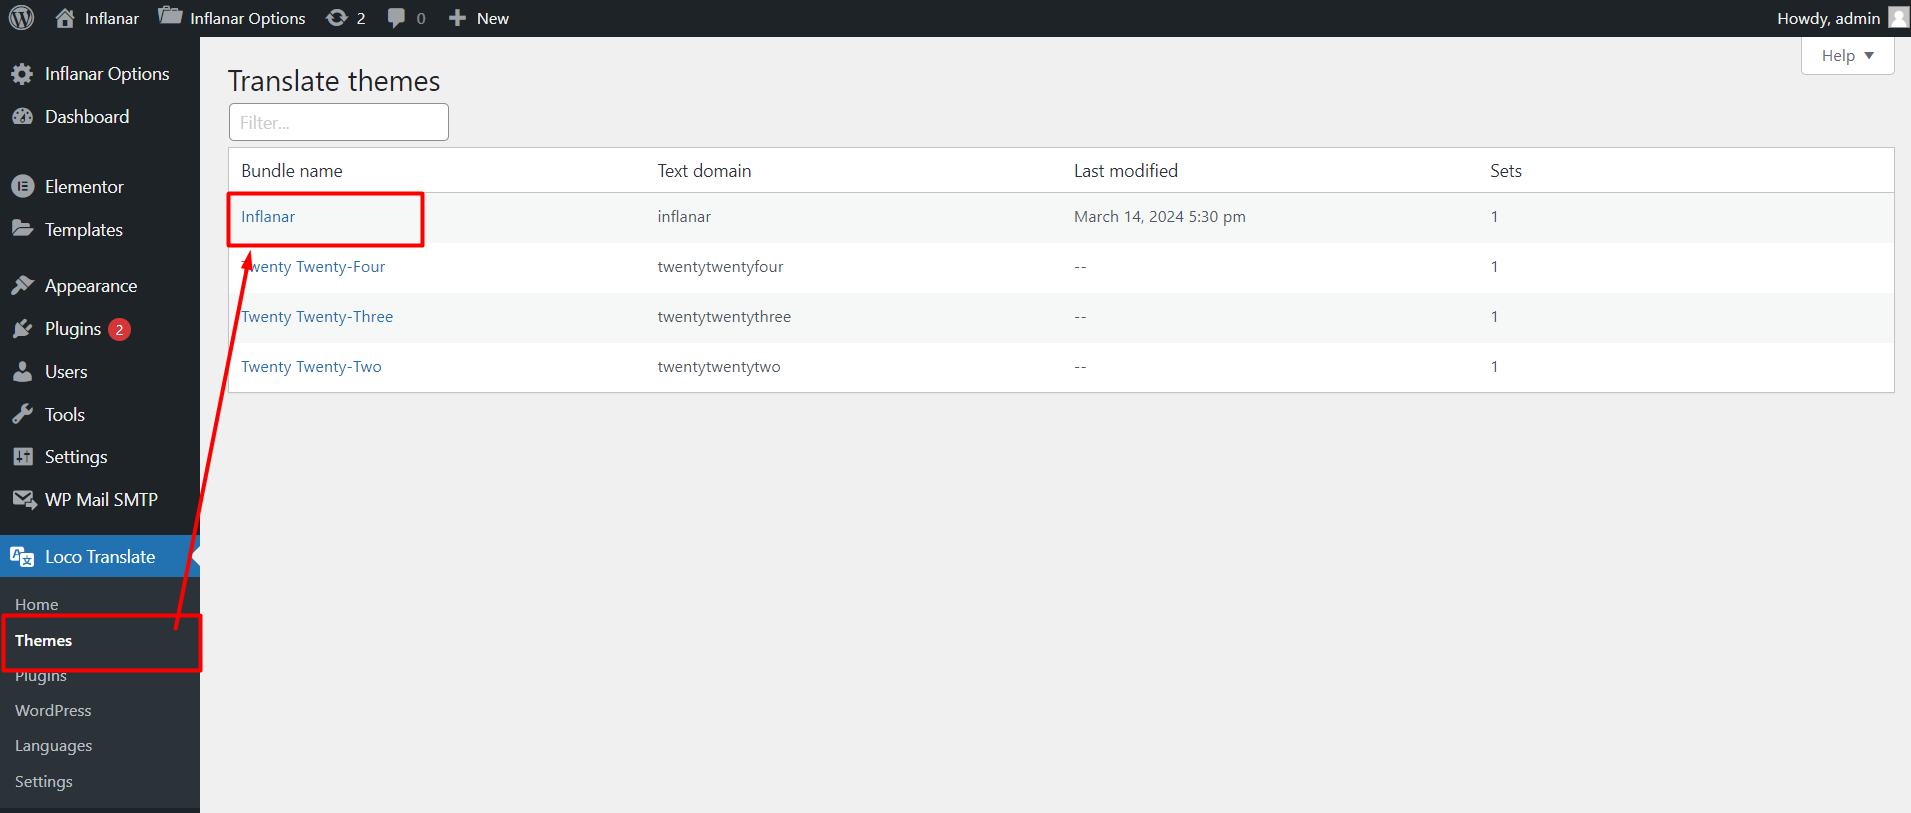
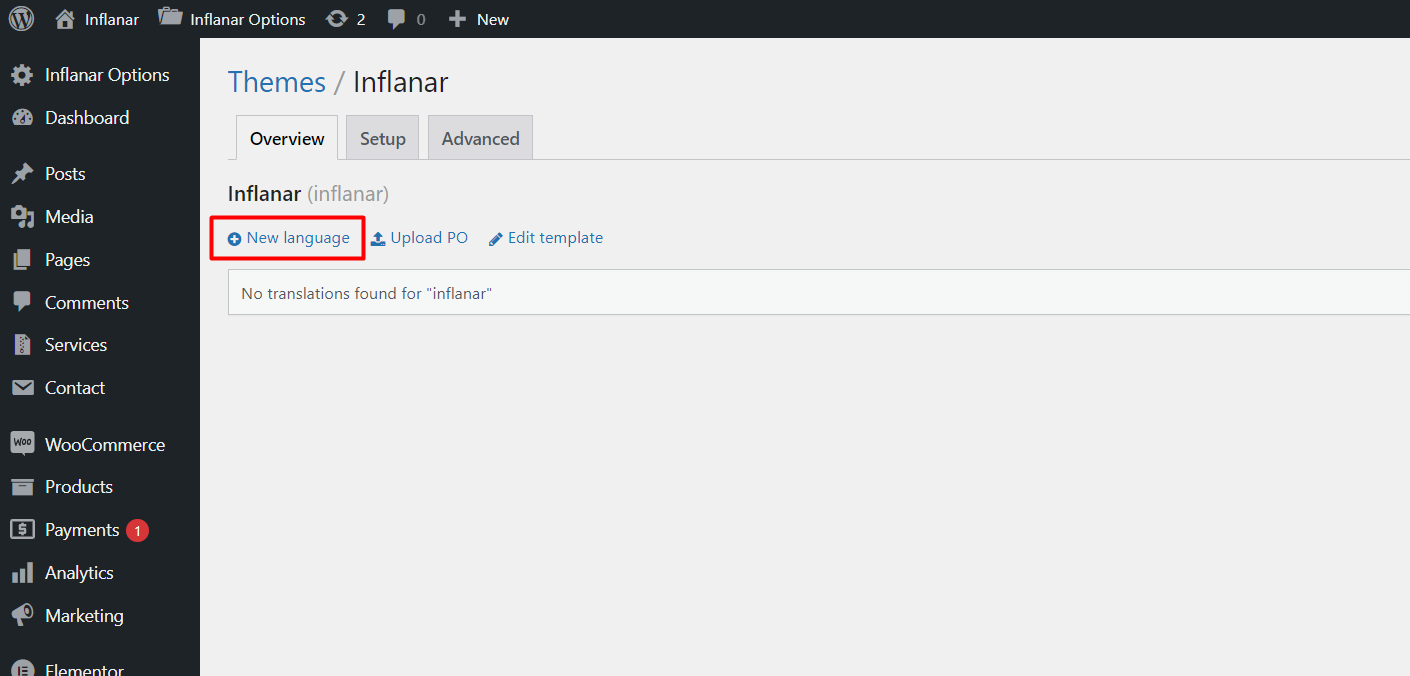
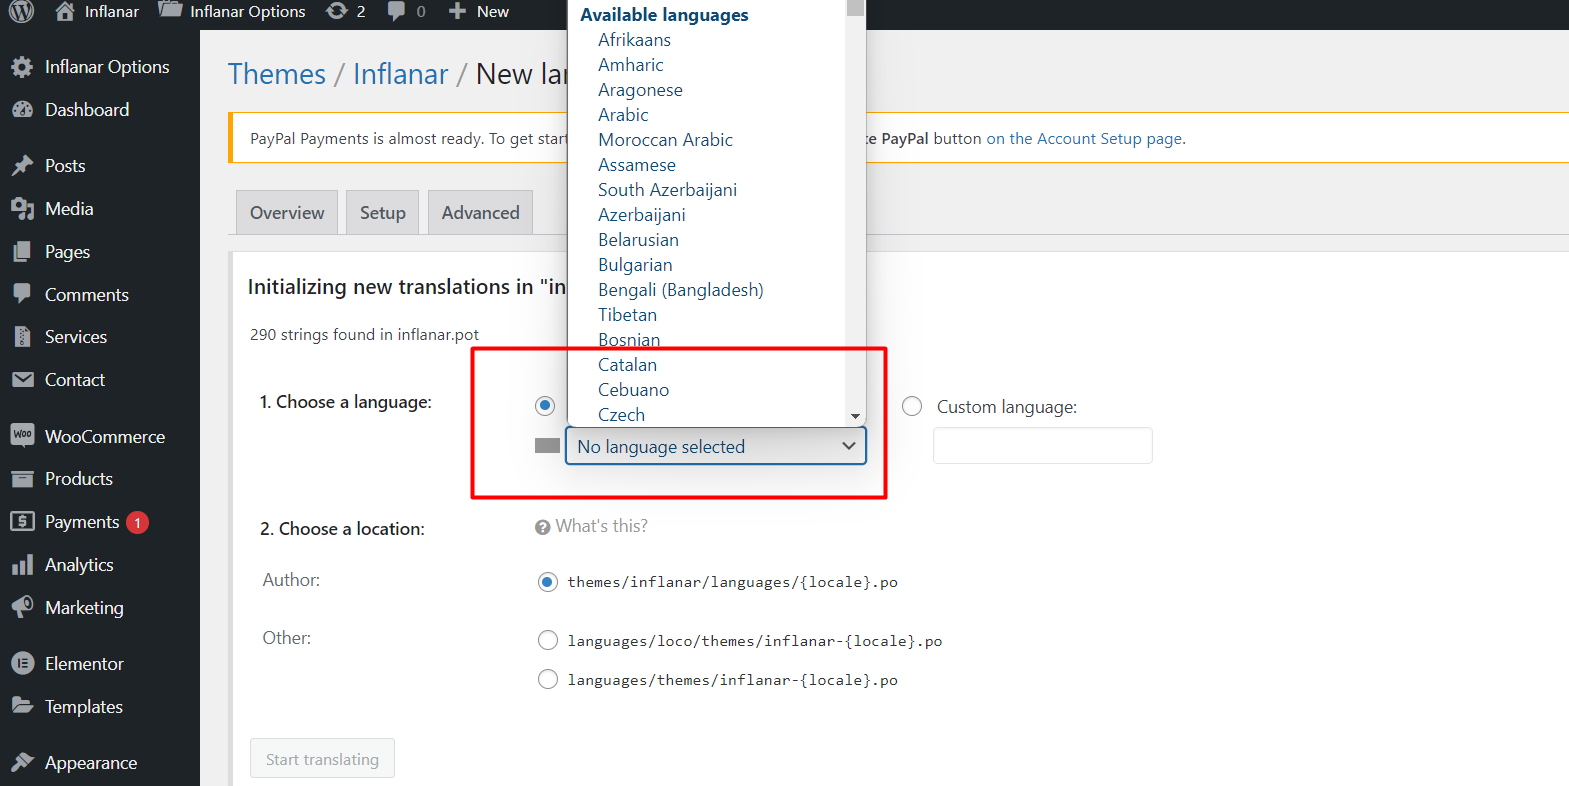
we offer an unlimited multi-language feature. Here, administrators have the freedom to create as many languages as they desire and seamlessly translate content word by word. When an administrator creates new content, it is stored in the database as the default language. Simultaneously, similar content is assigned for other languages during the creation process. In the editing interface, administrators can easily translate content language-wise, ensuring a smooth and efficient localization process. To create a new language, simply navigate to Settings > General from the sidebar.
Header & Footer
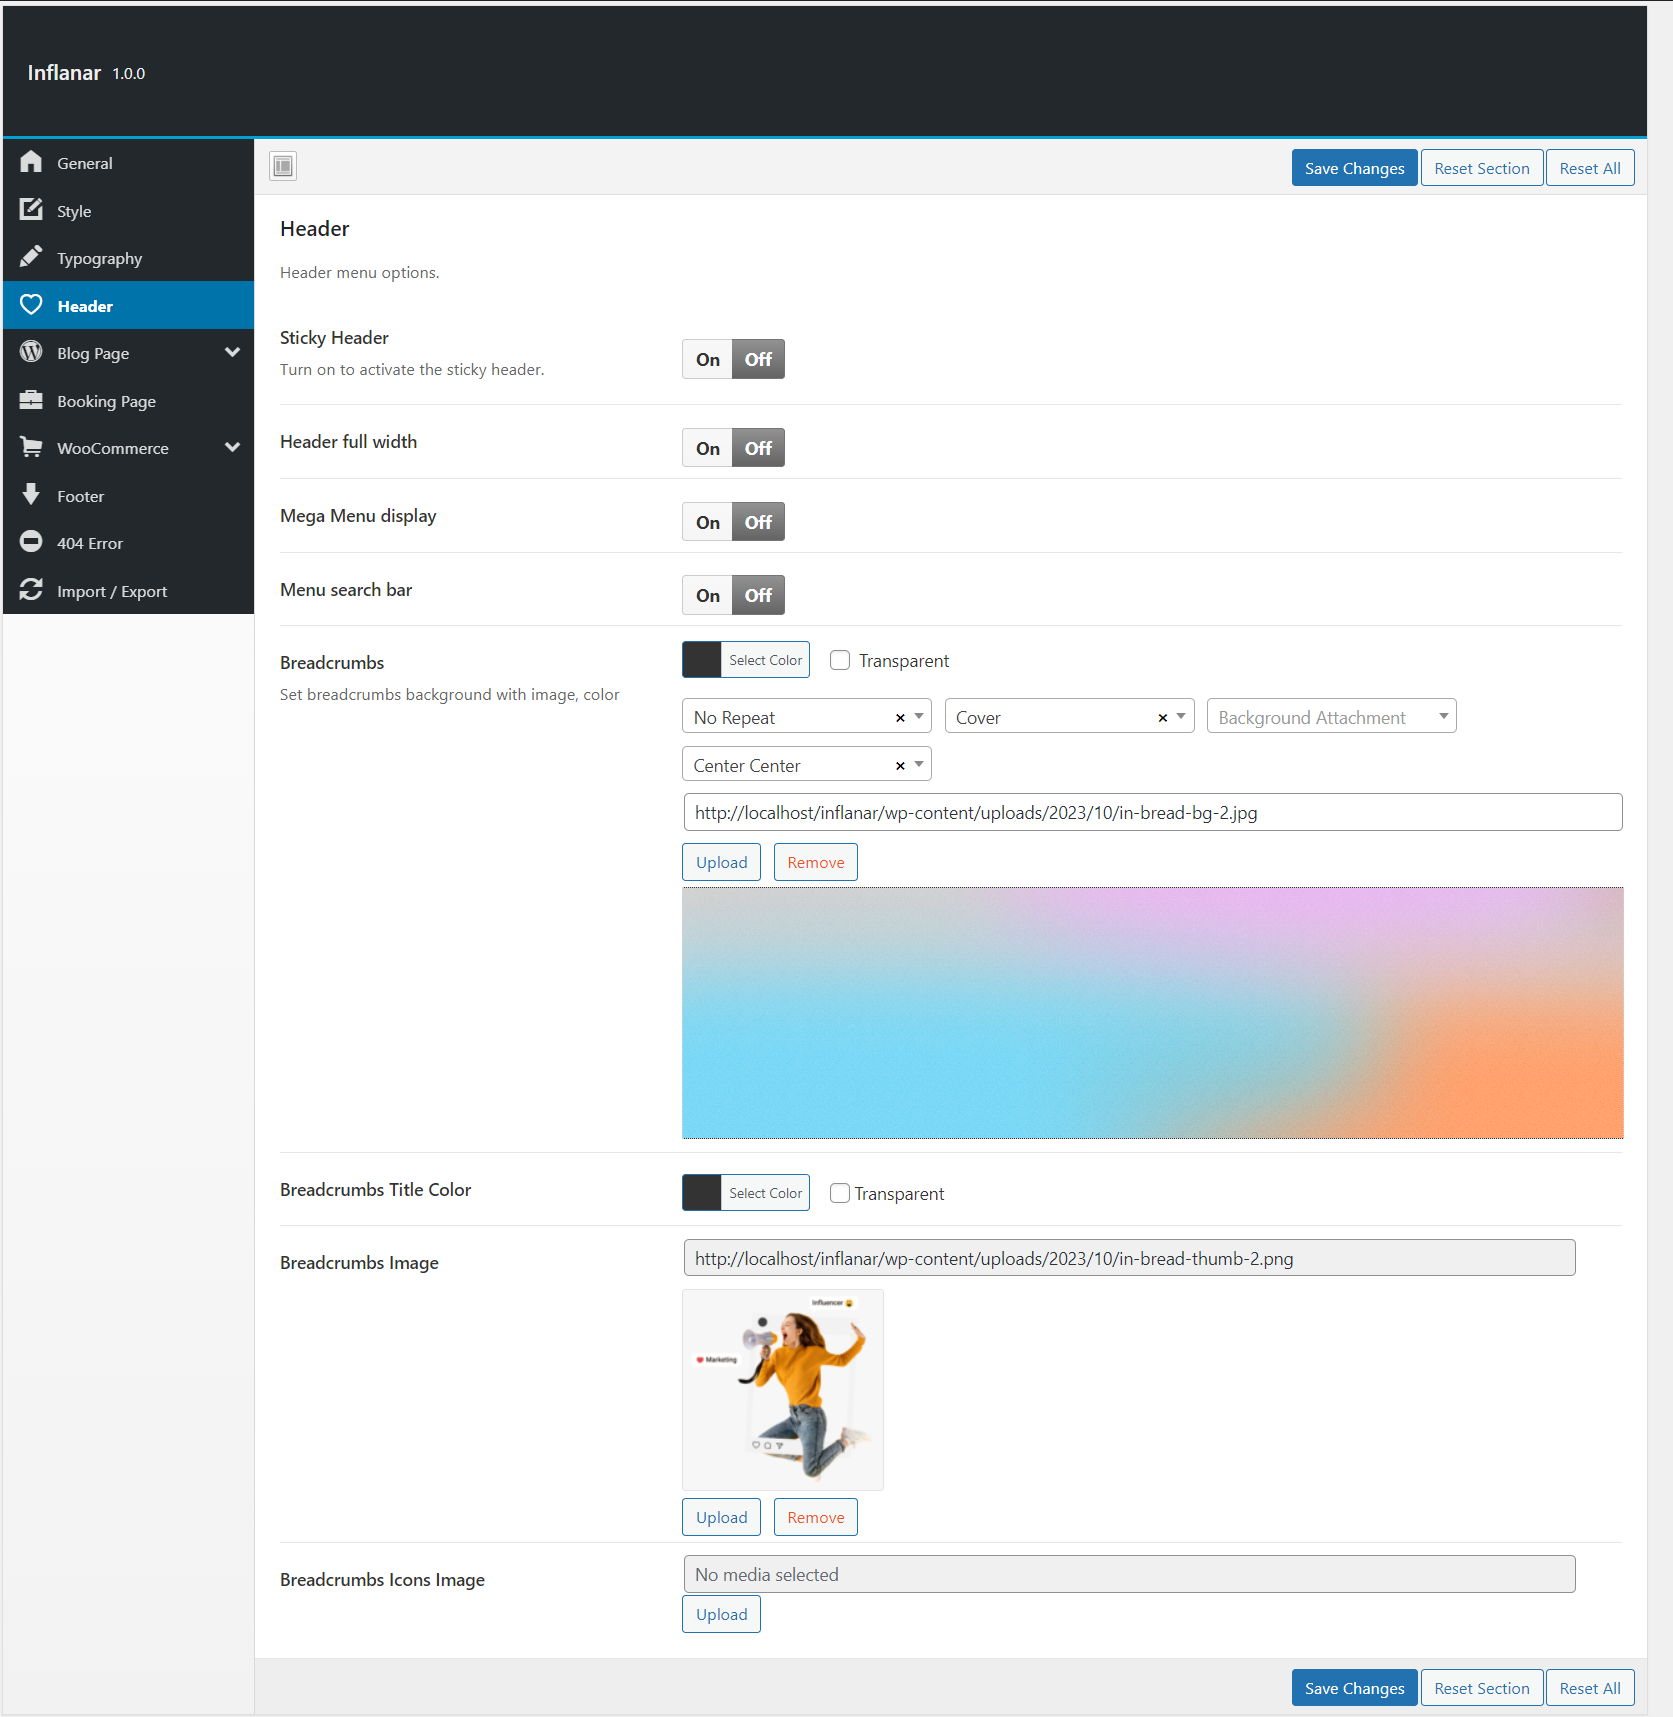
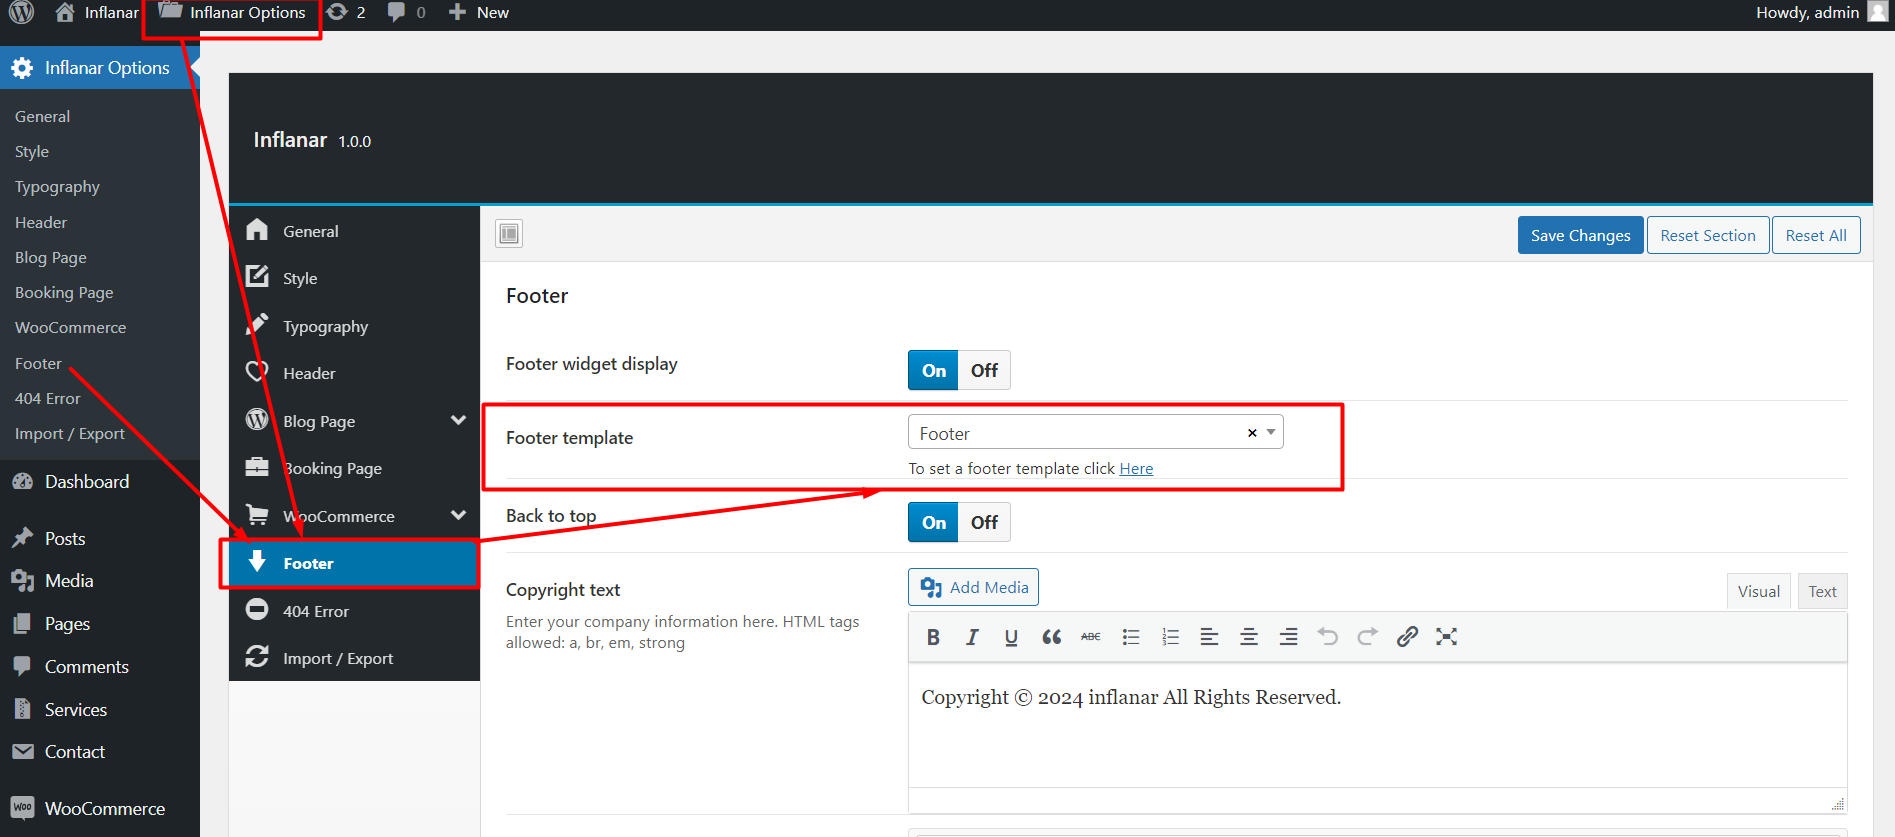
Website Header information can be setup from here. Go to "Inflanar Options > Header" from sidebar.
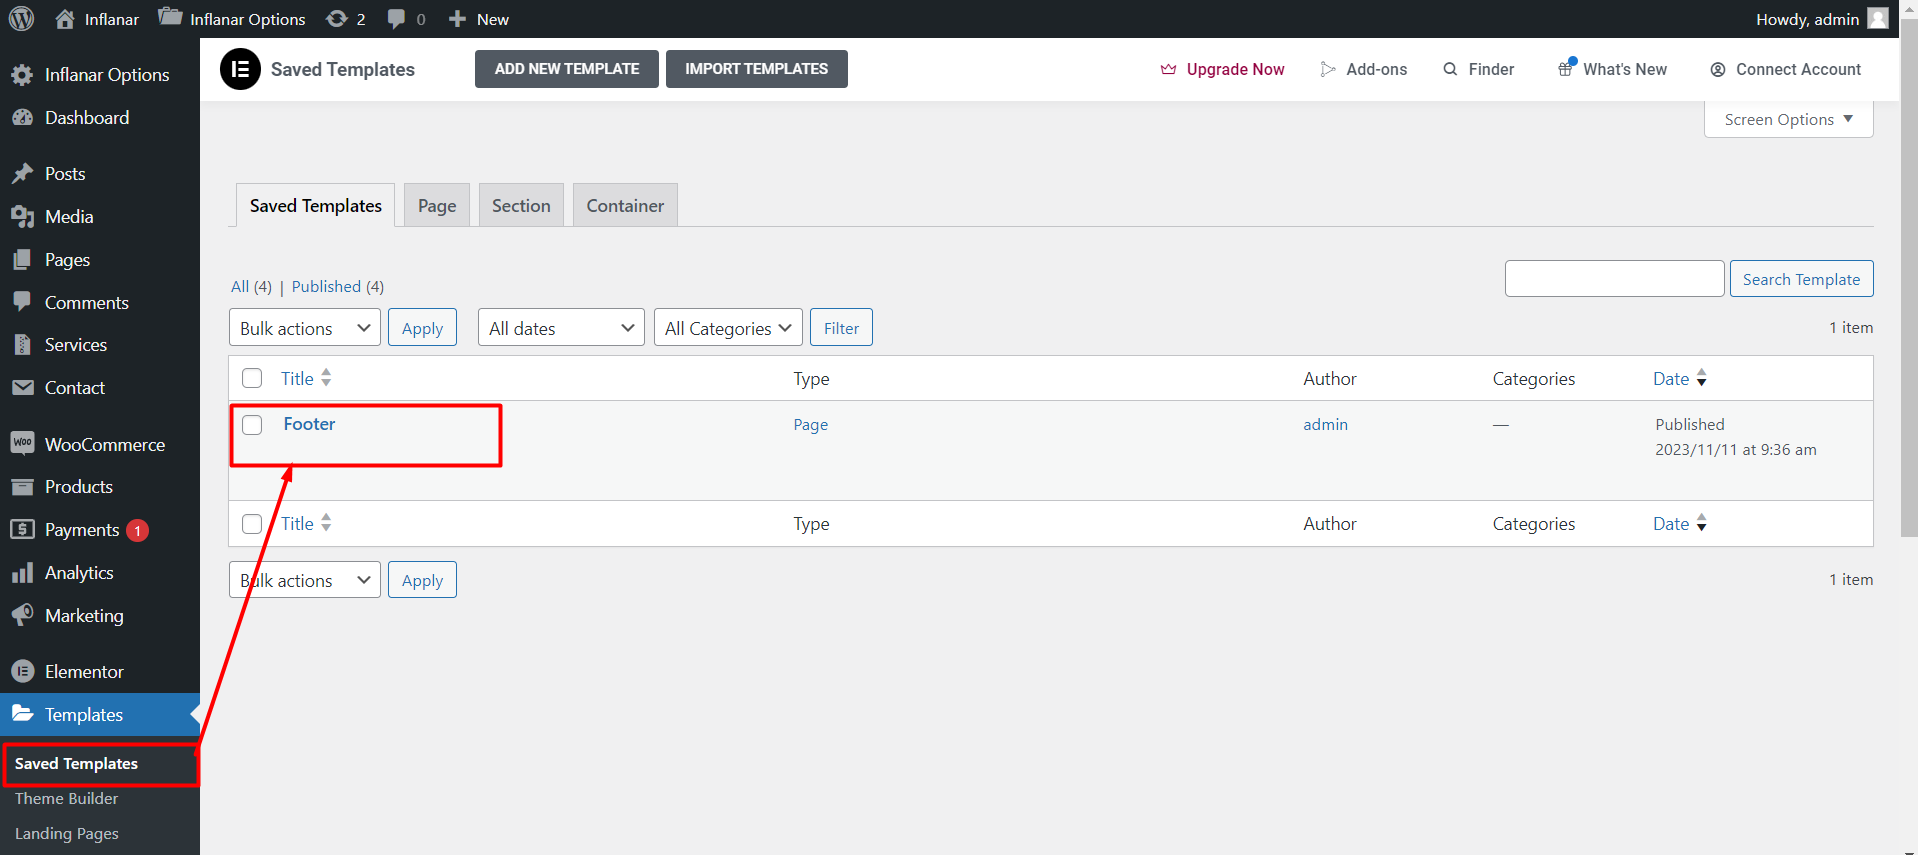
Website footer information can be setup from here. Go to "Templates > Saved Templates" from sidebar.
Contact Message
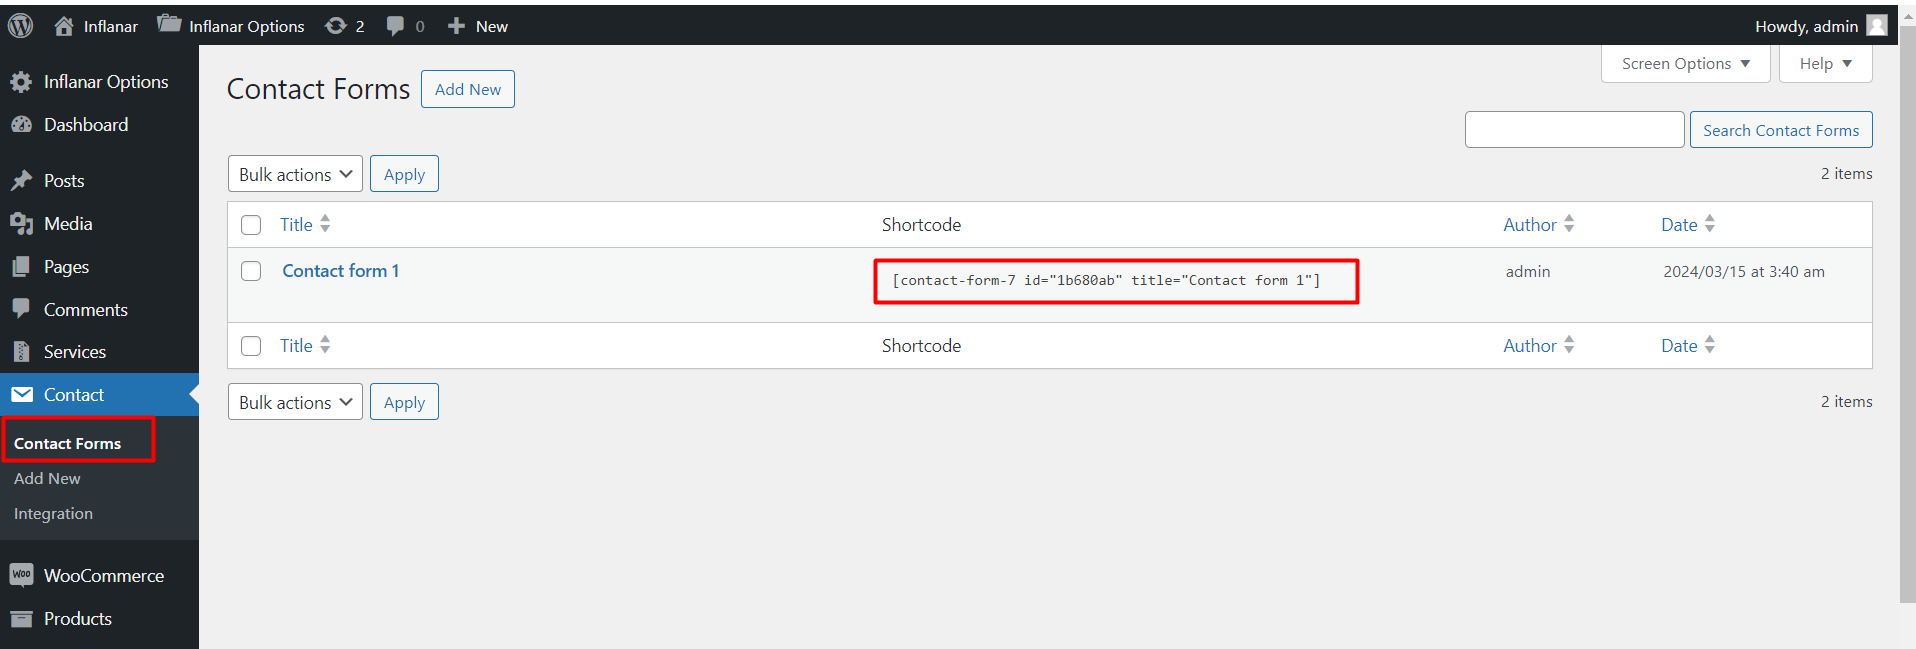
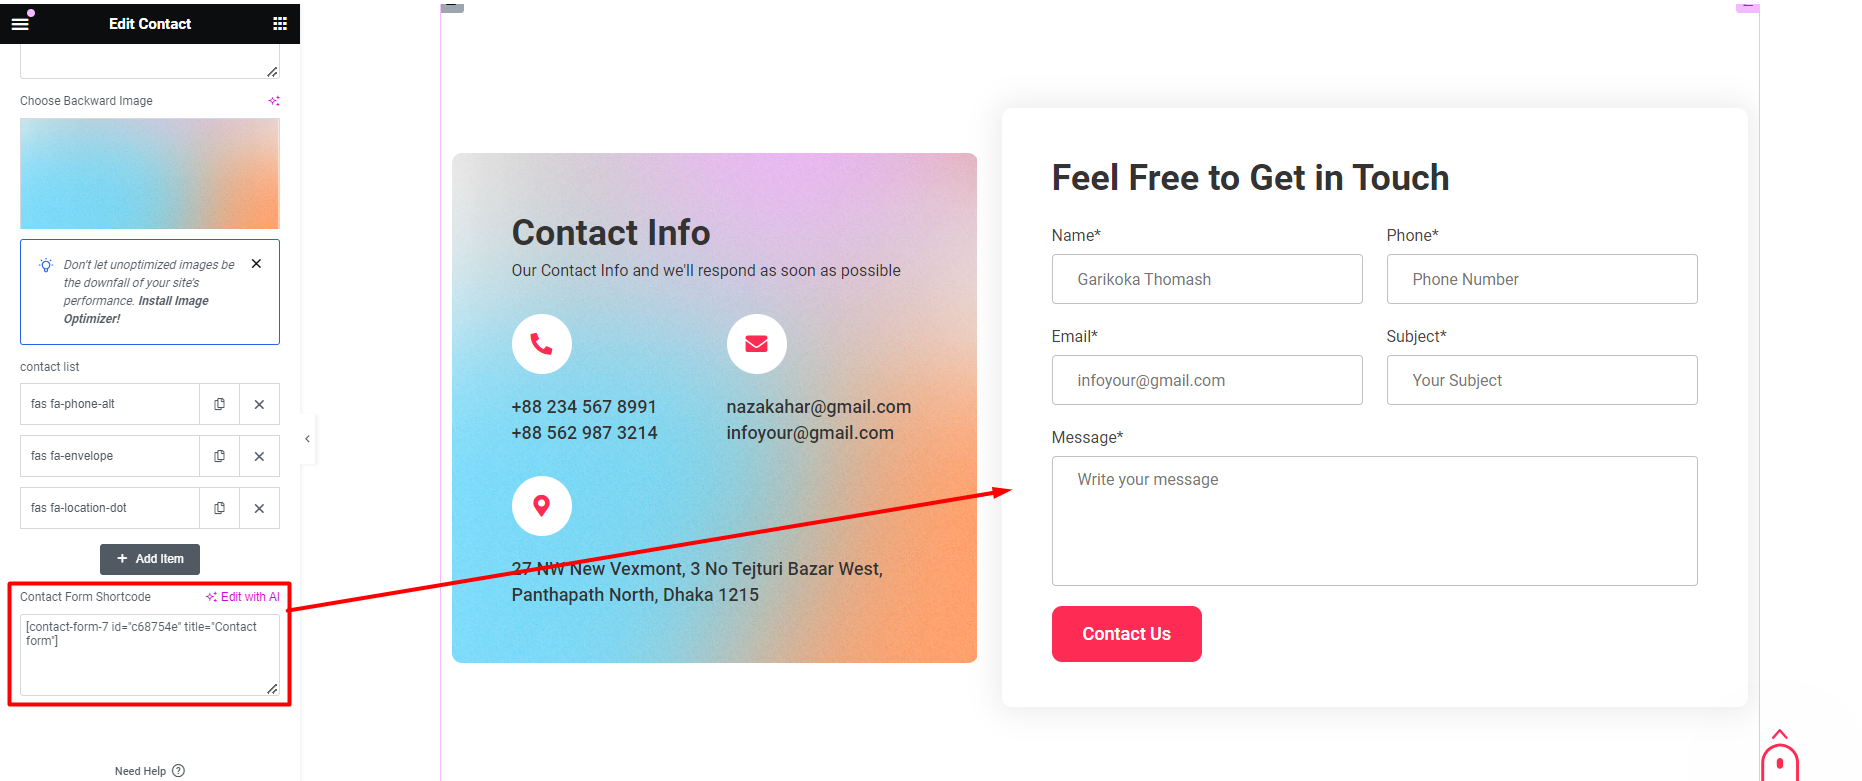
Contact Message can be manage from the admin panel. Contact message save in database enable or disable system available here. Go to "Contact Forms" from sidebar.
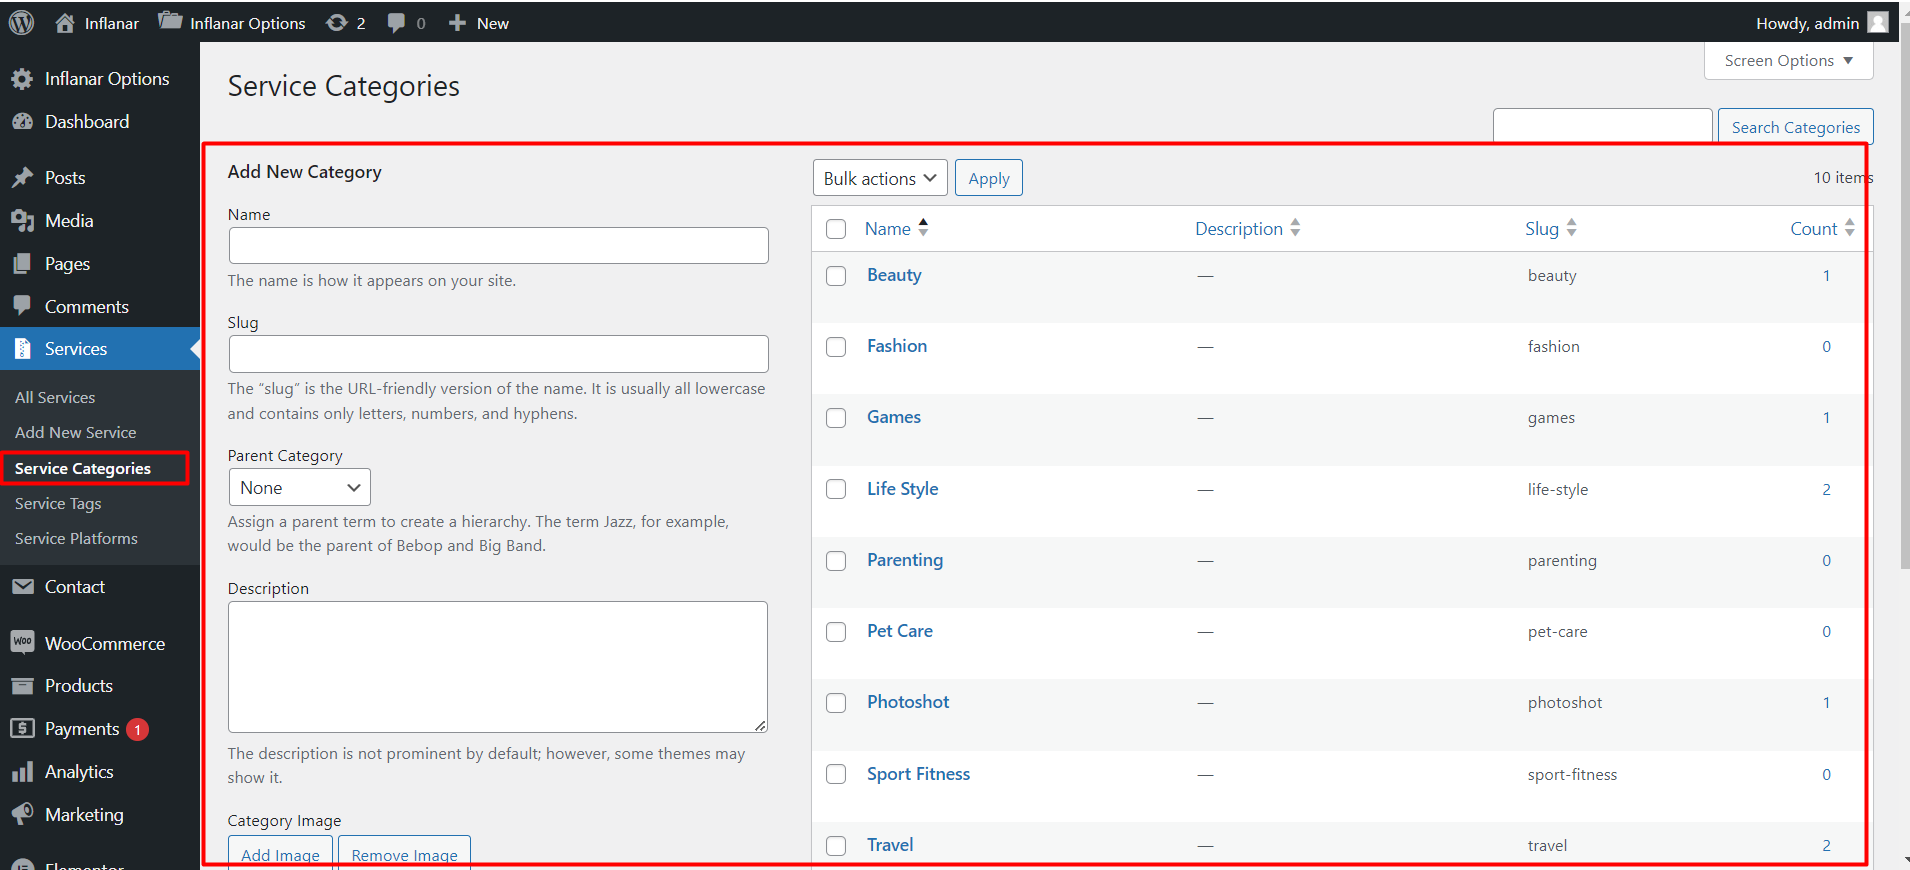
Service Category
Service Category can be manage from the admin panel. Go to "Services > Service Categories".
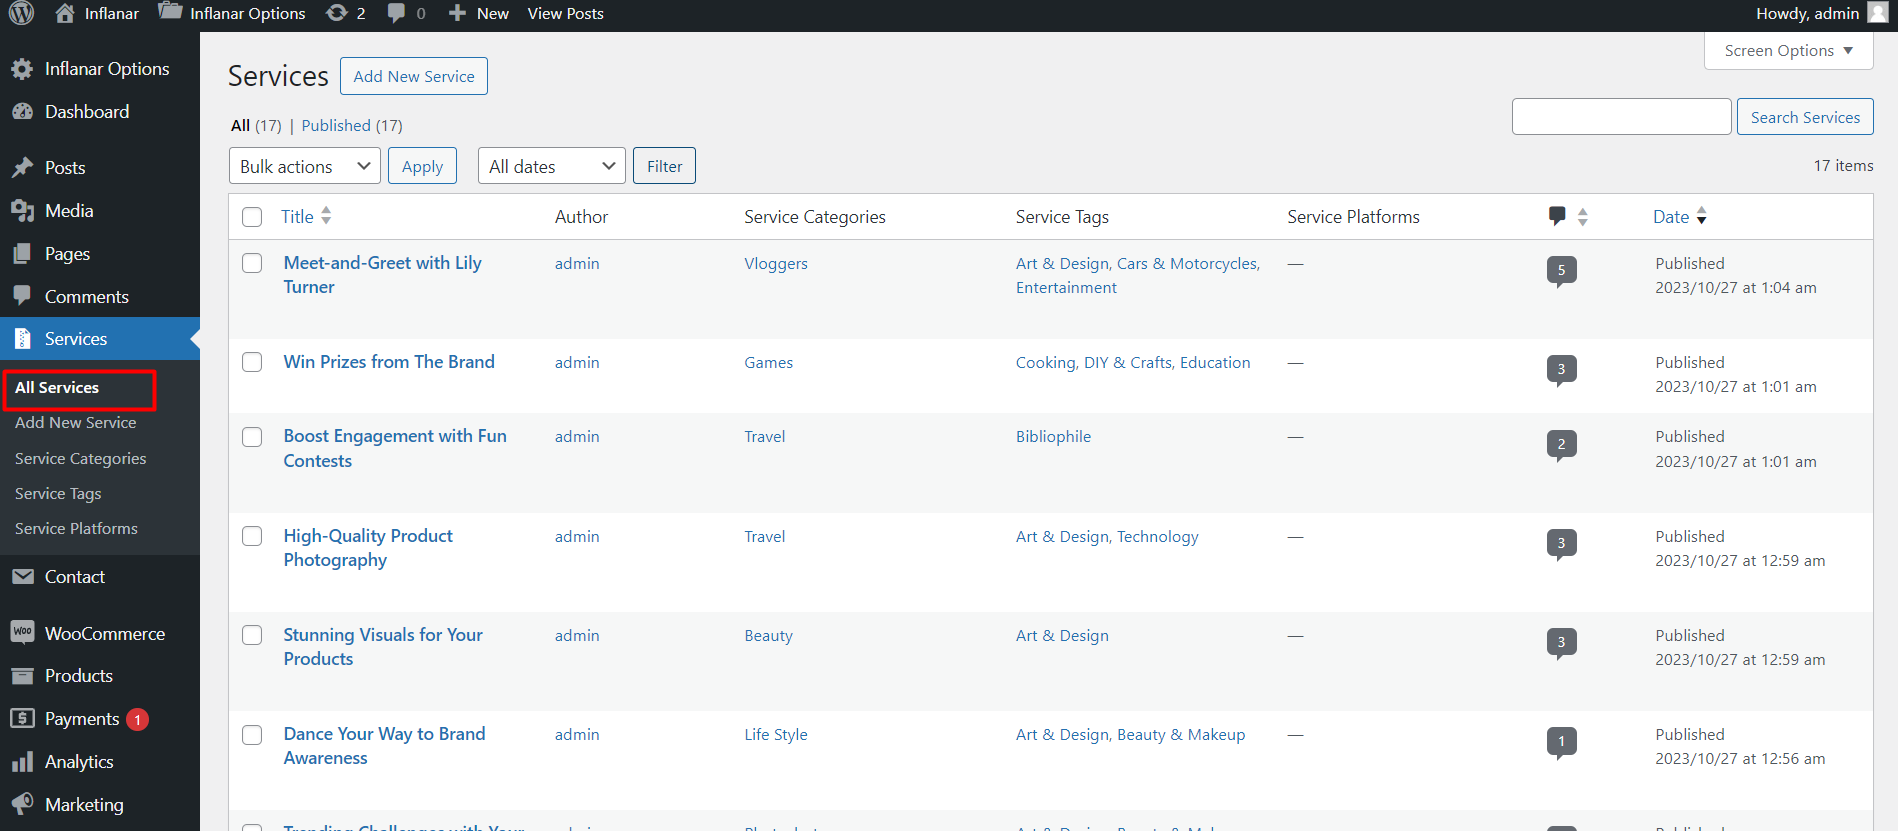
Service
Service can be manage from the admin panel. Go to "Services > All Services" from sidebar.
Default avatar
Default avatar can be manage from the user dashboard.
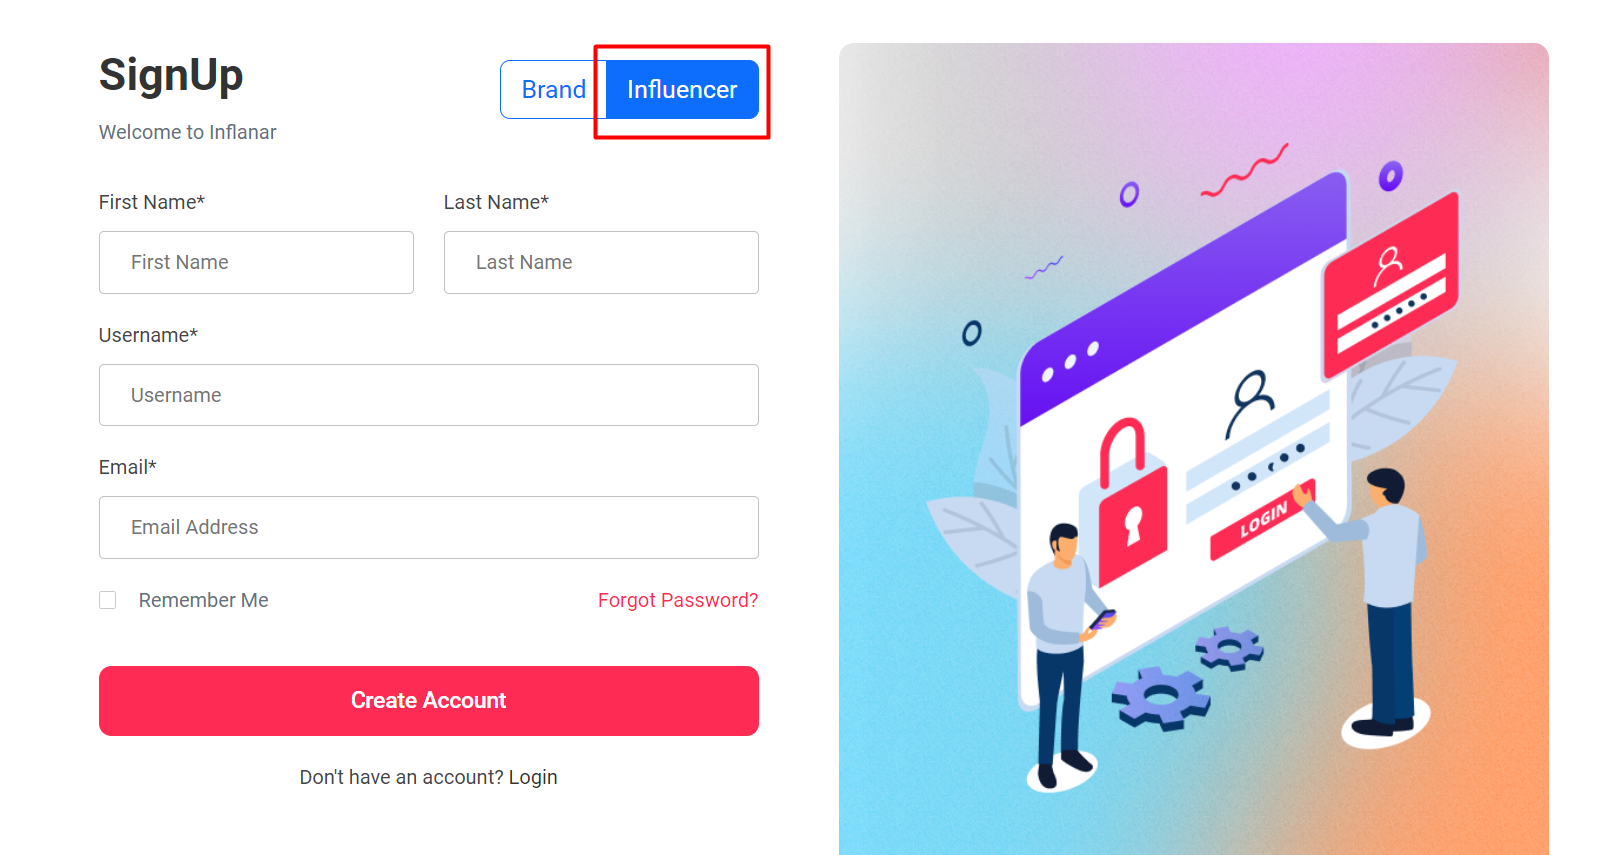
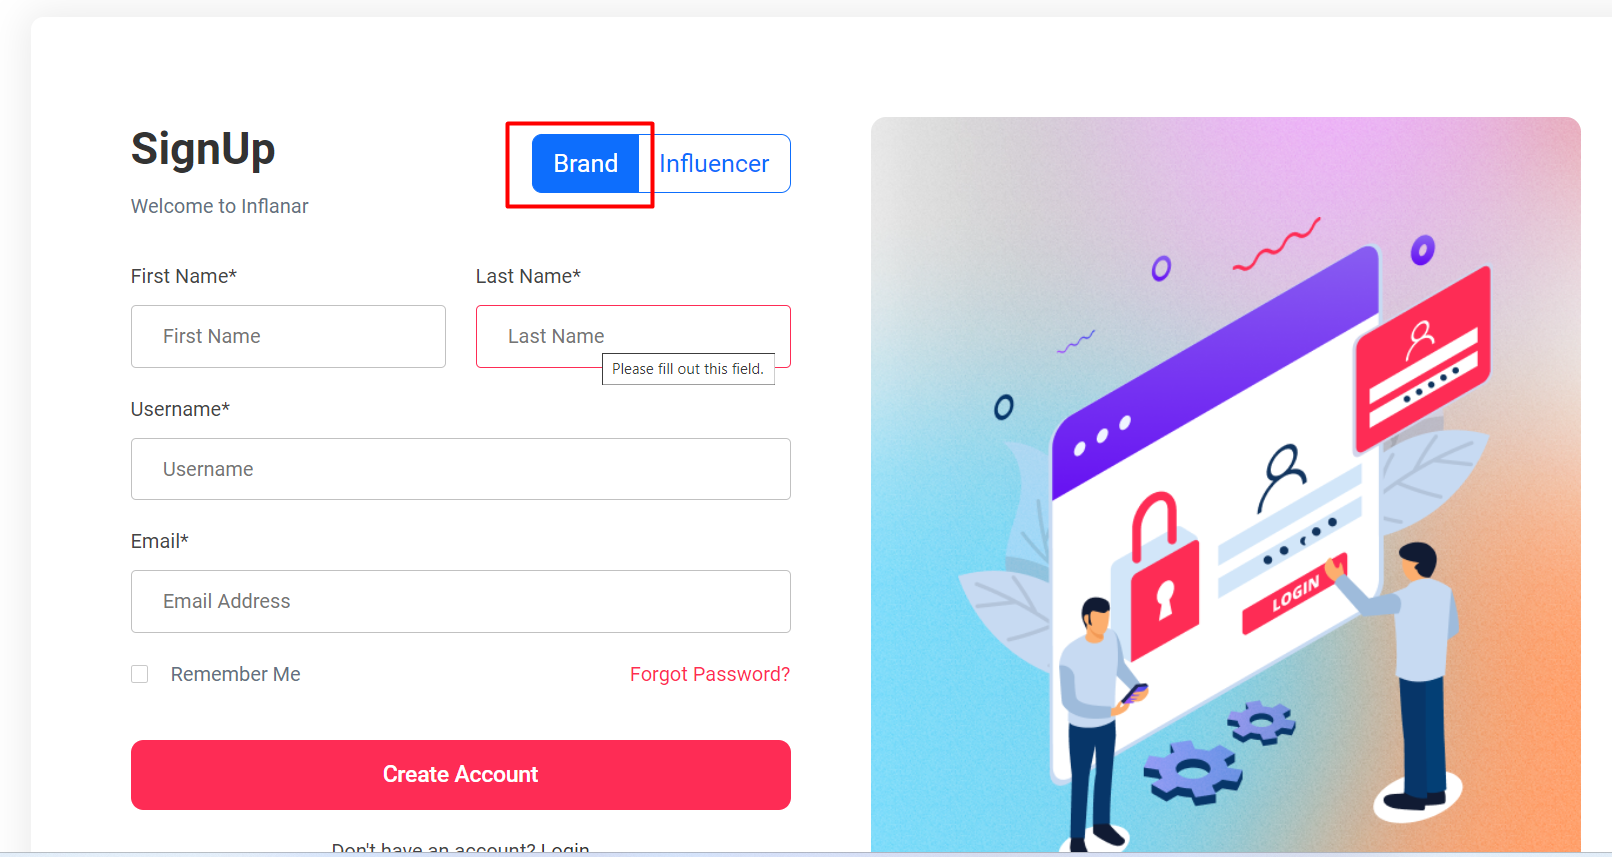
Influencer Registration
From the top menu, Influencer can click on registration.
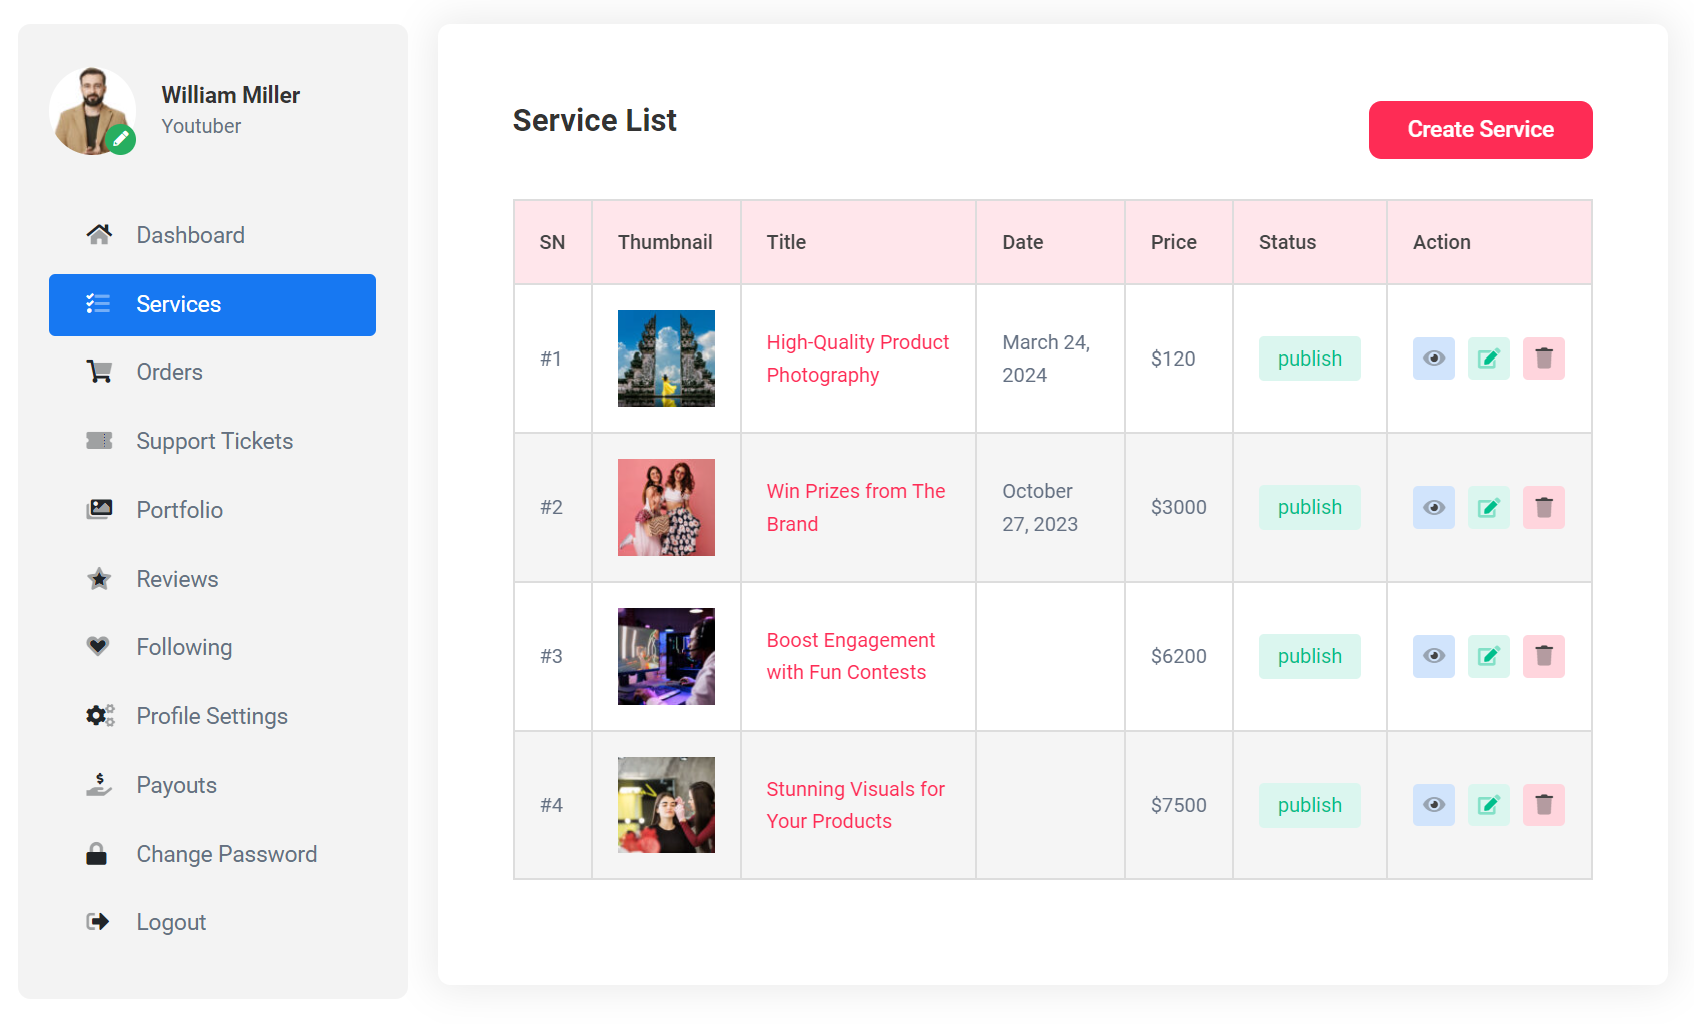
Manage Services
The influencer can manage, create, edit, and delete their services from this section.

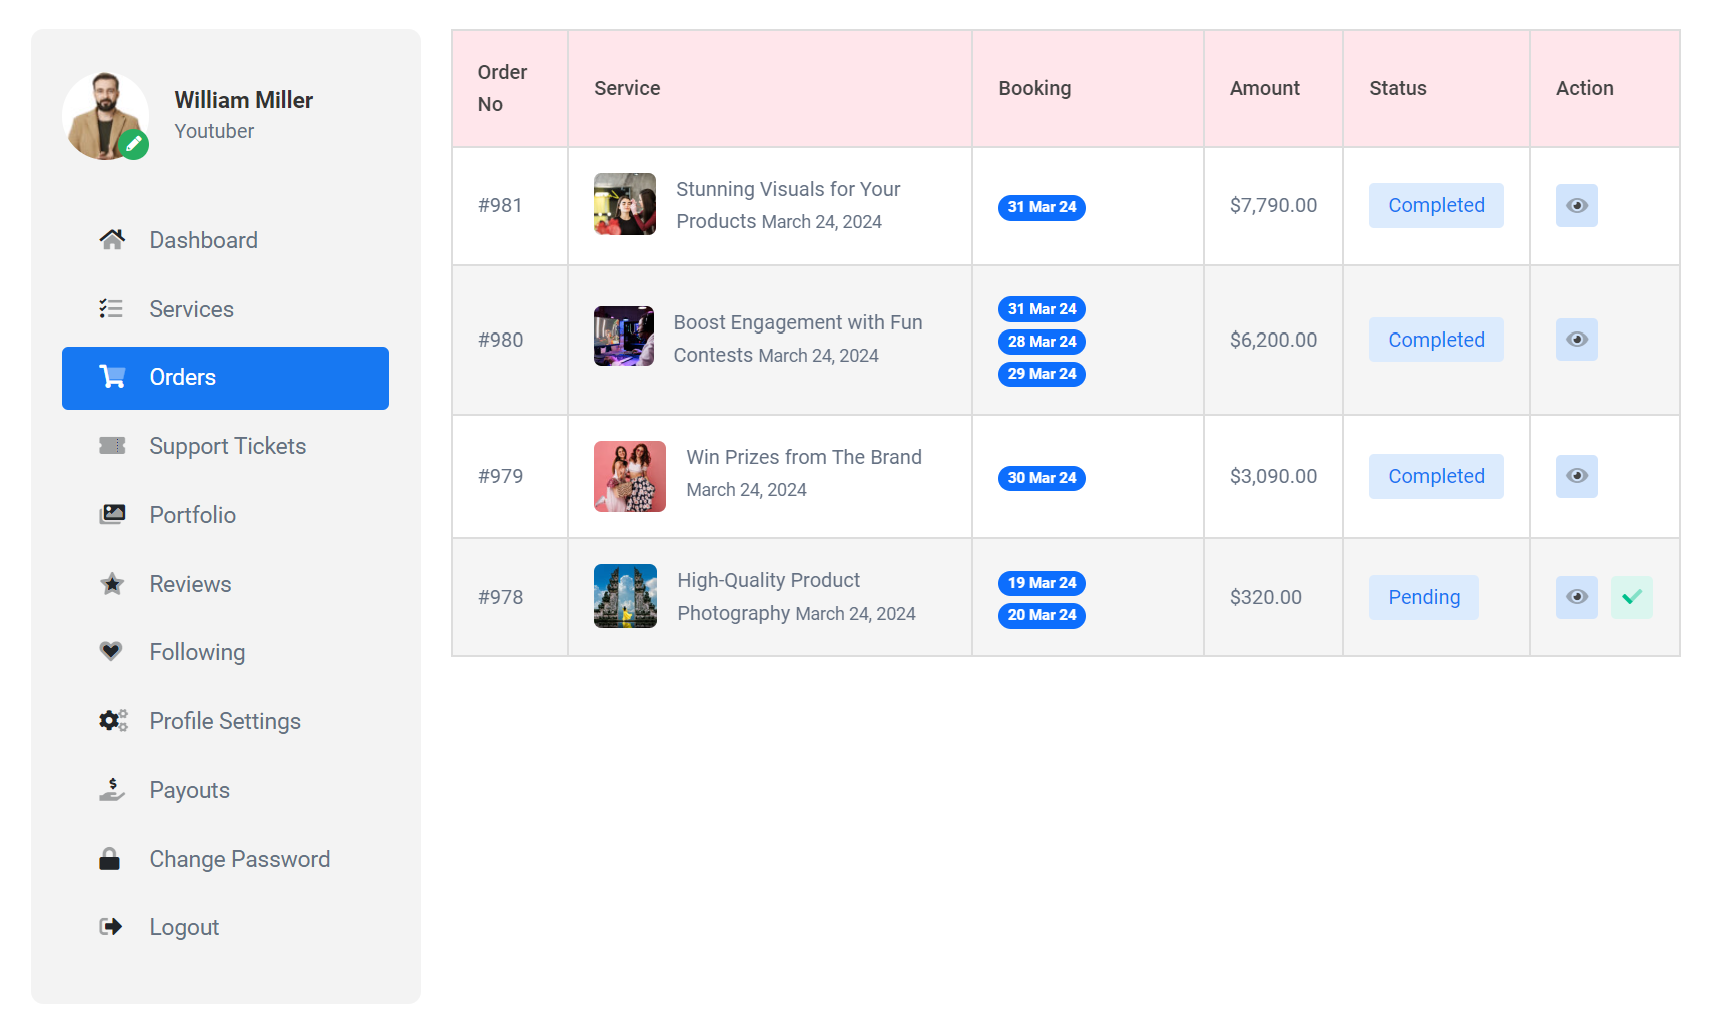
Manage Services
The influencer can manage his order from this section.
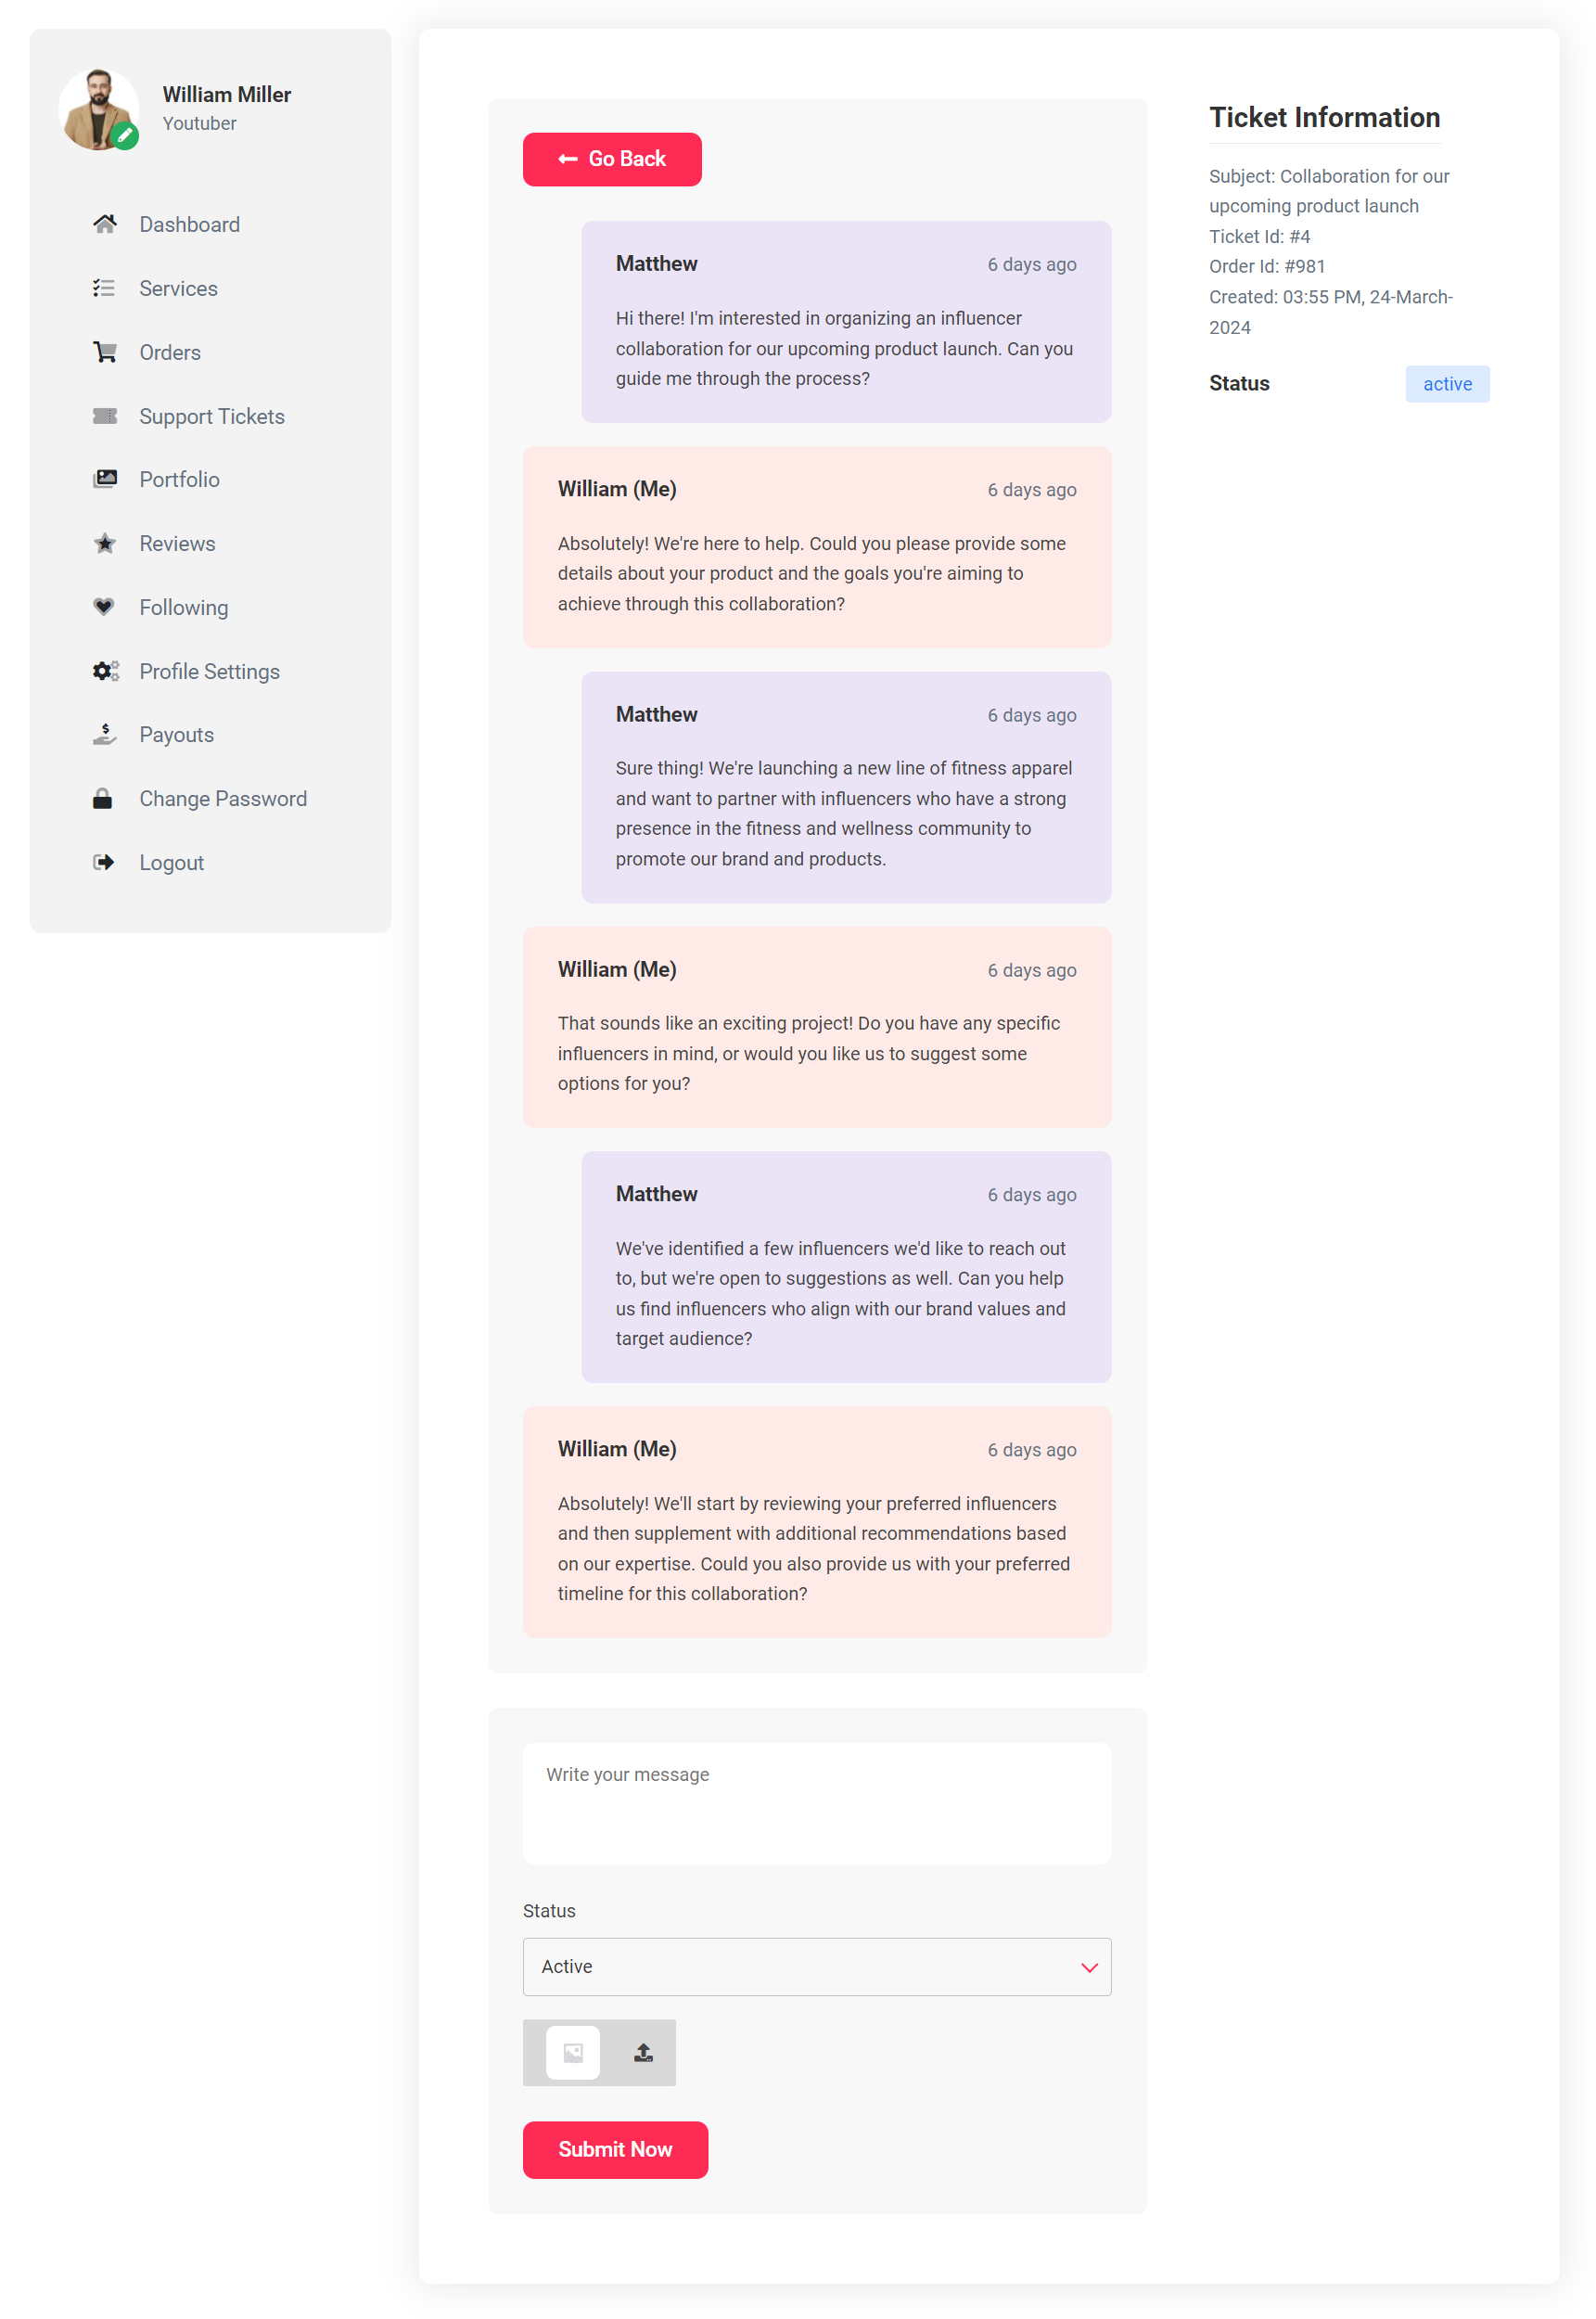
Support Tickets
Influencers can reply to client support tickets with the image uploading feature
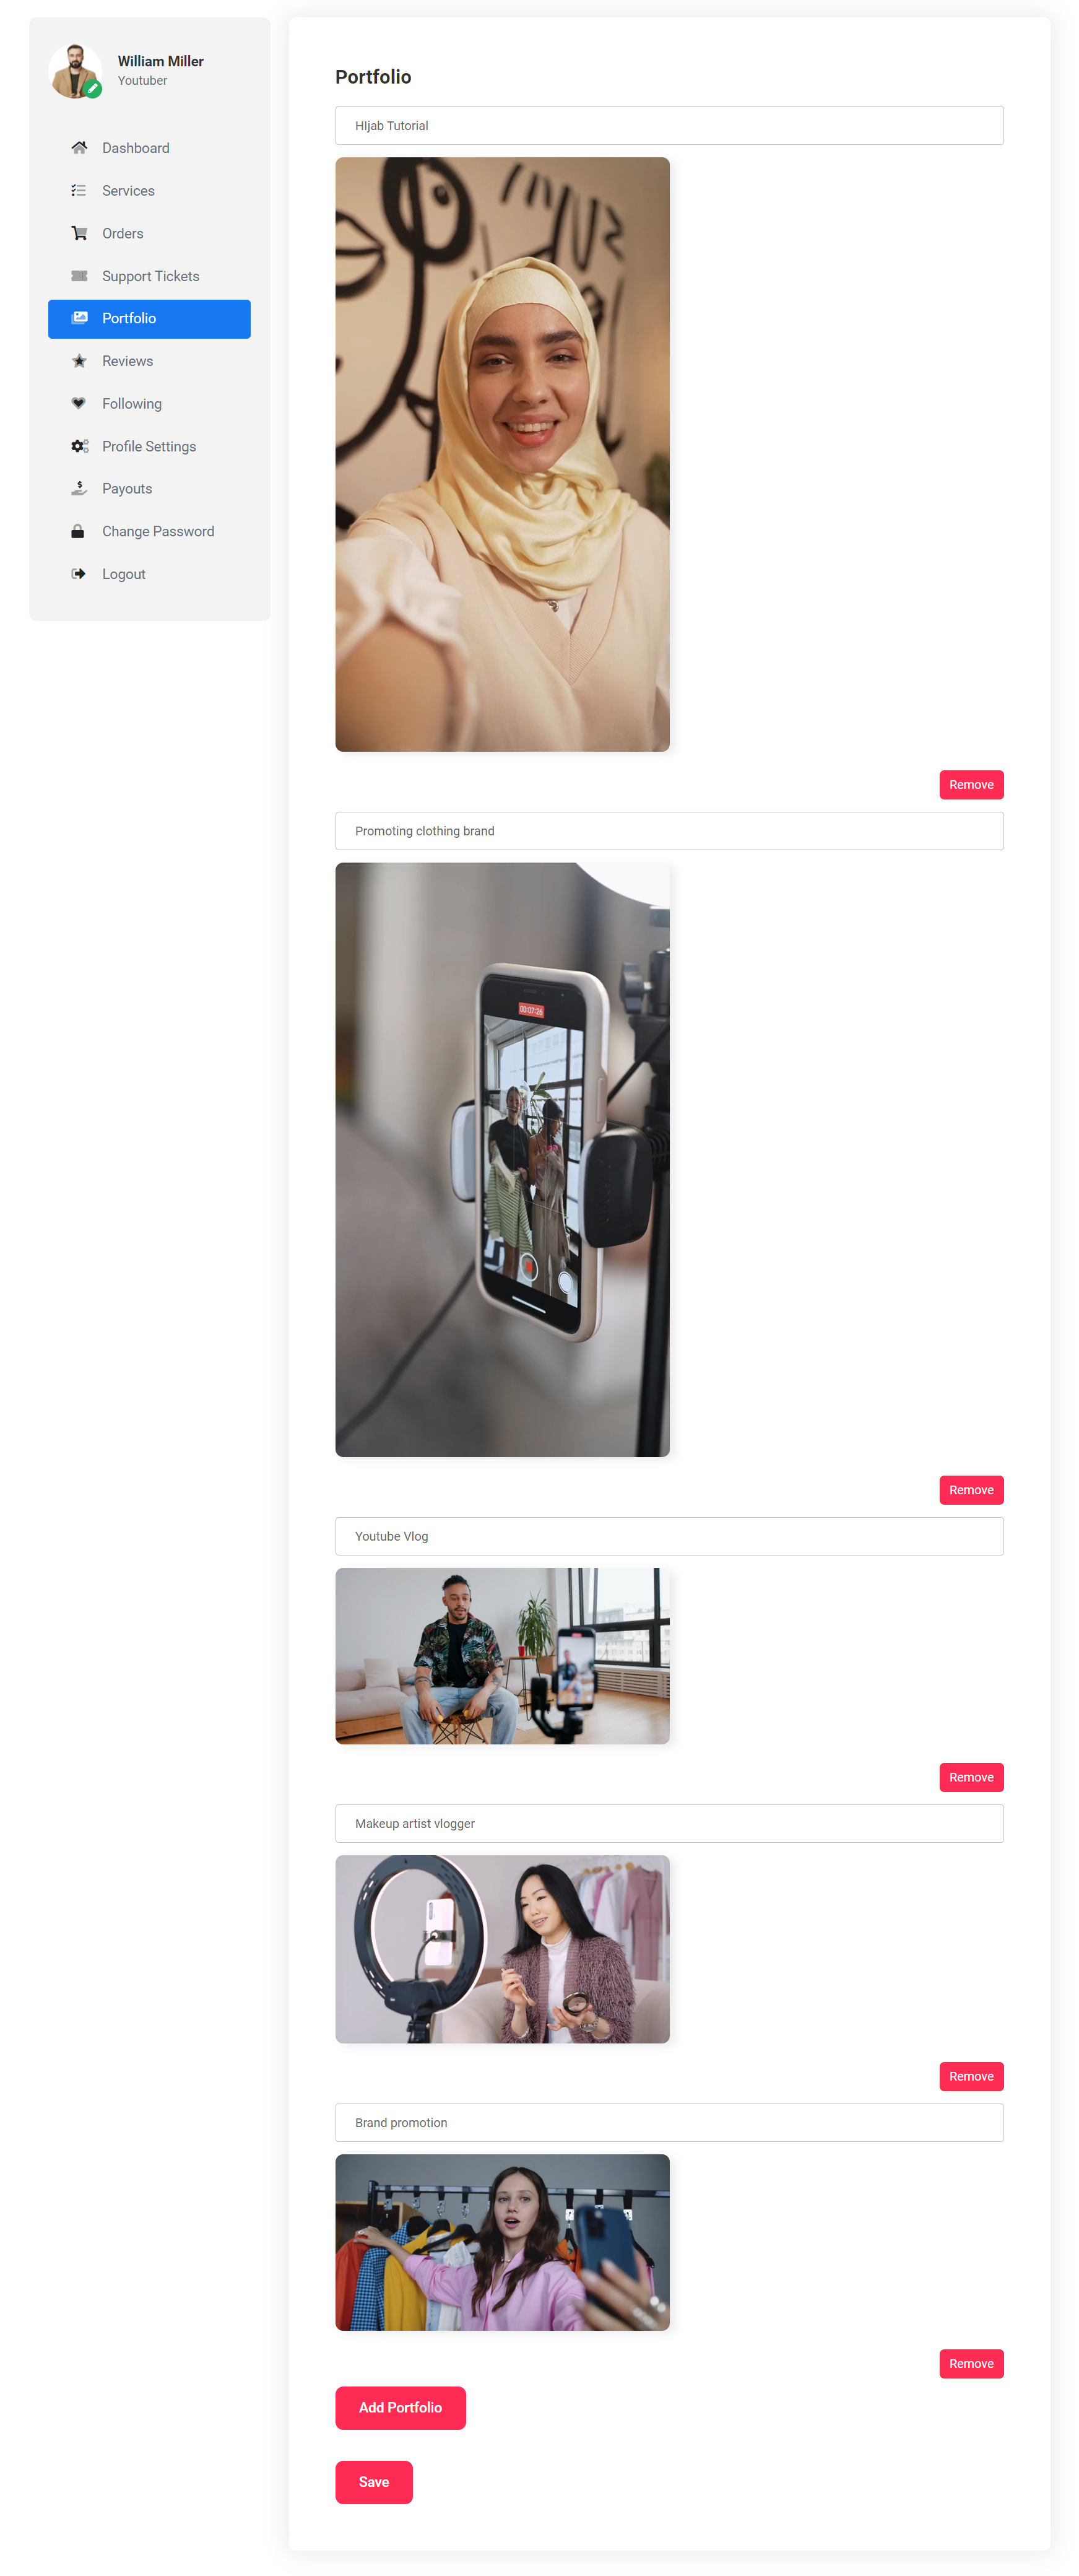
Portfolio
Influencers can add as many portfolio videos as they want.
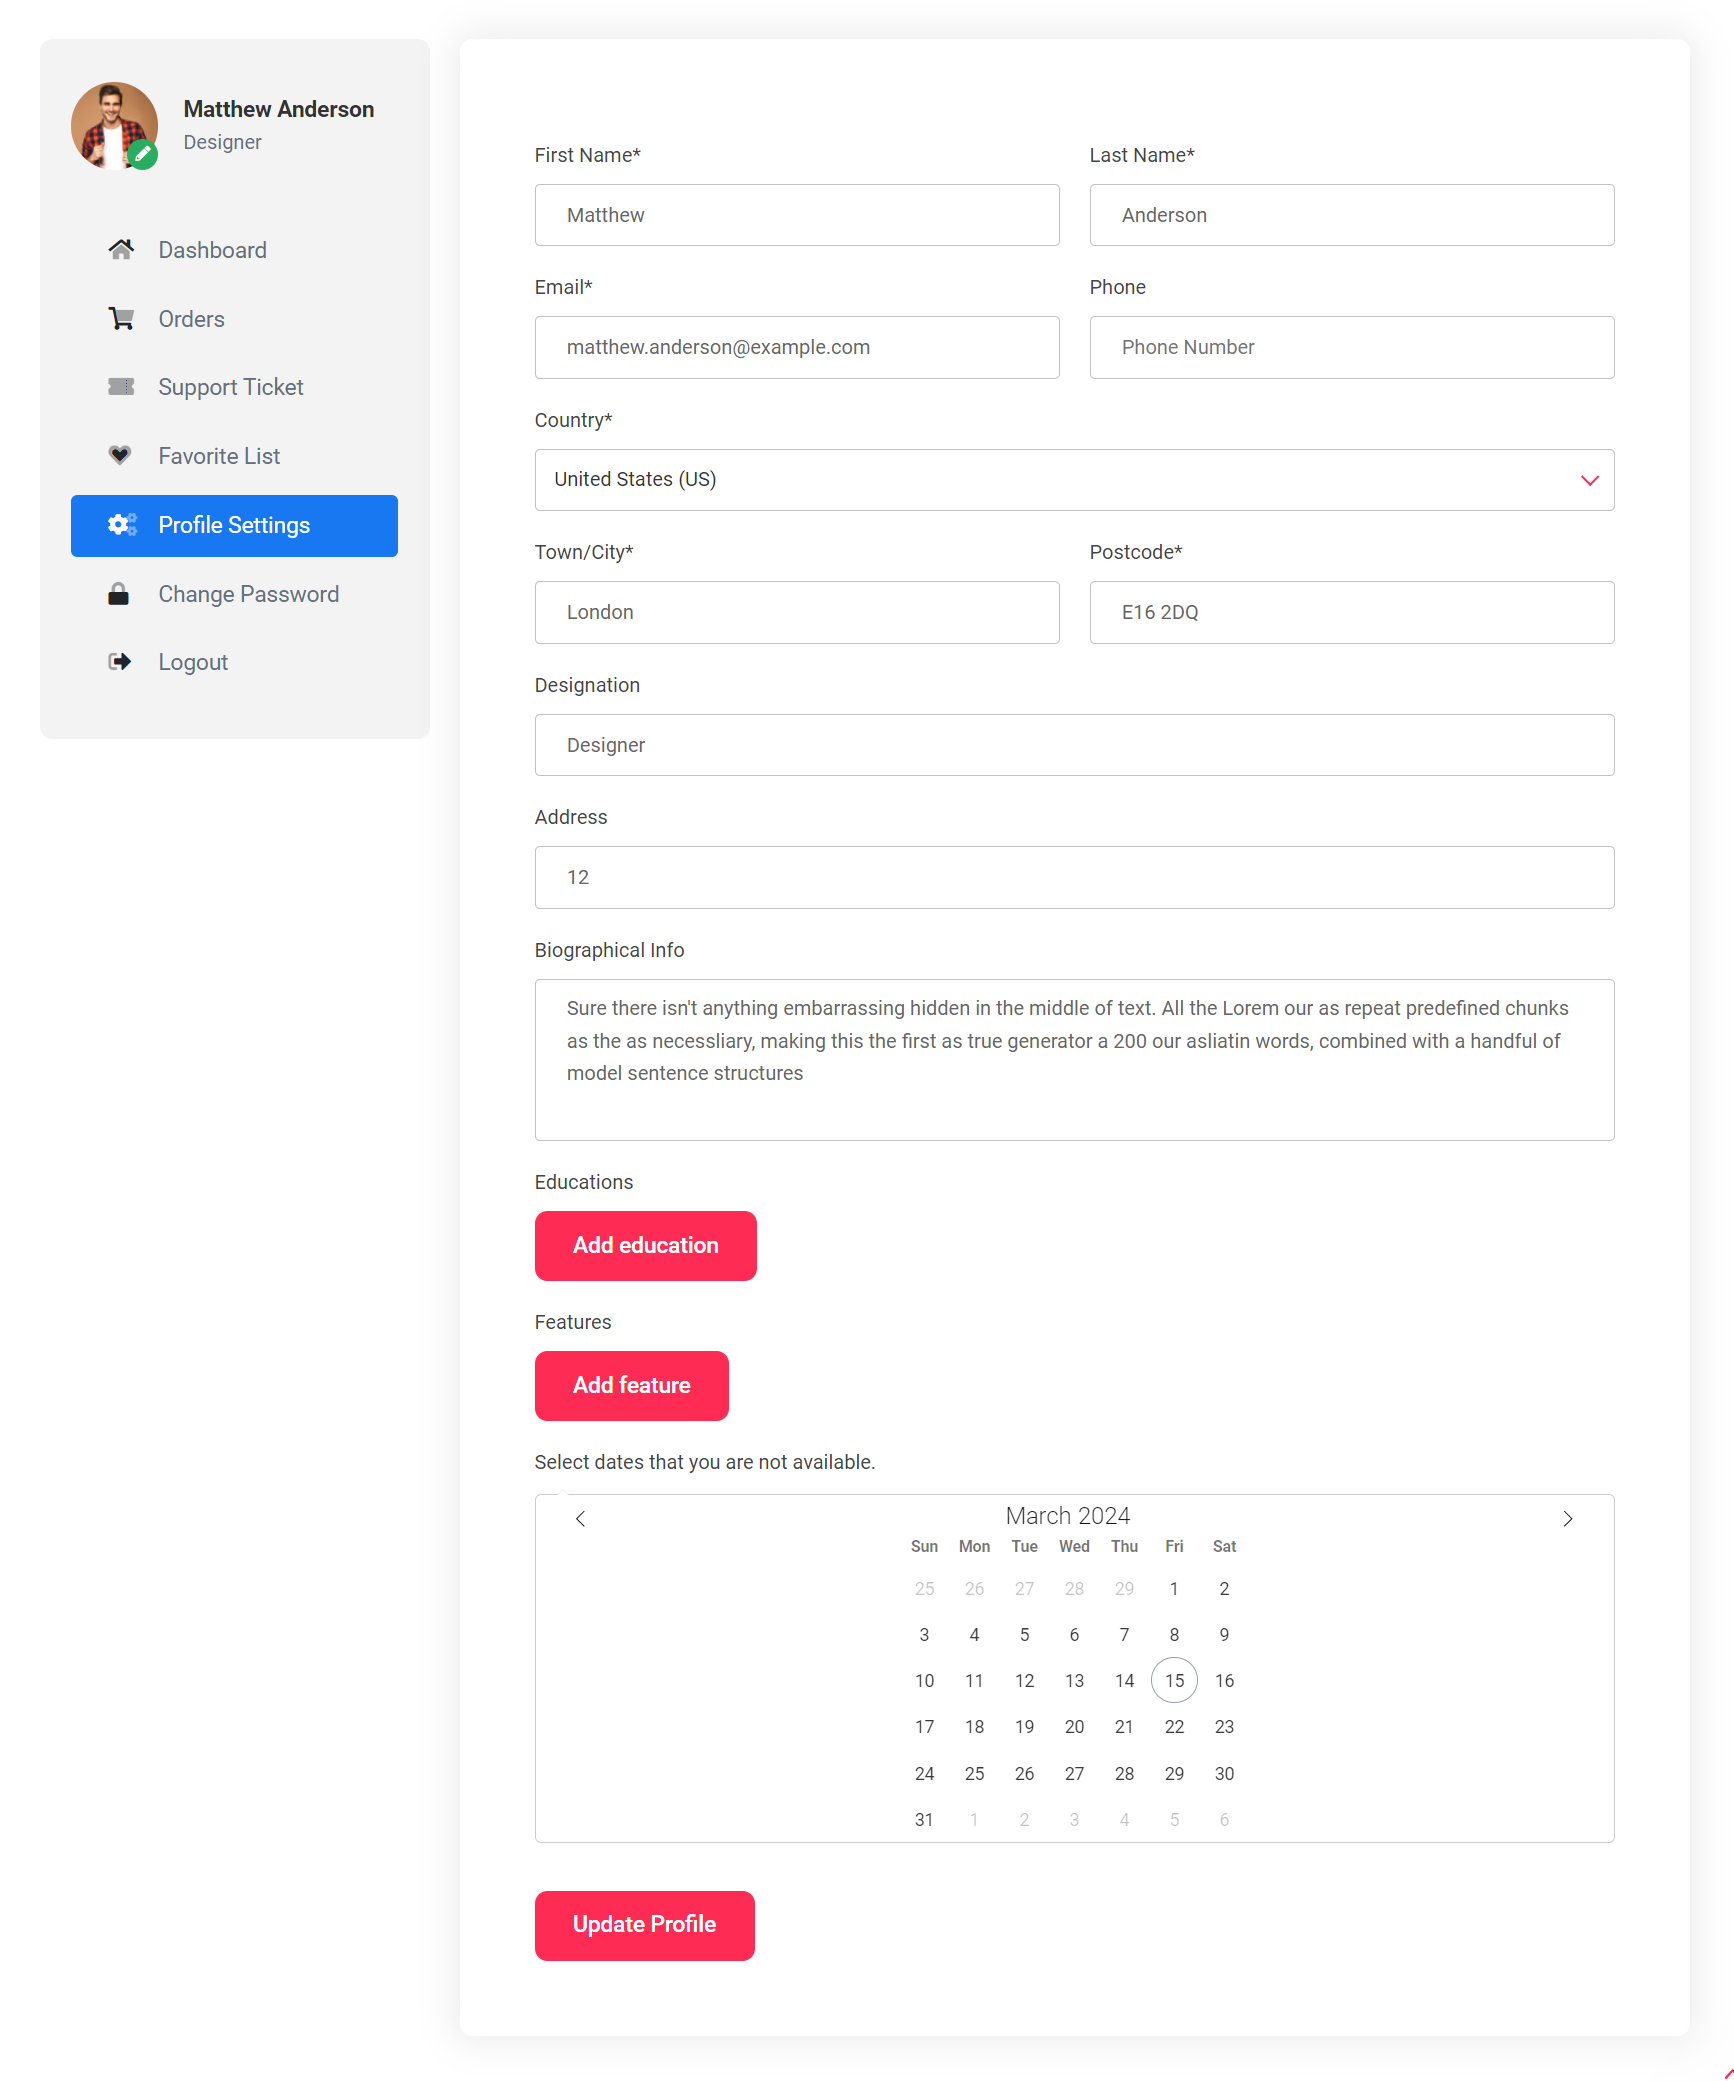
Profile
You can change or modify your profile from this section.

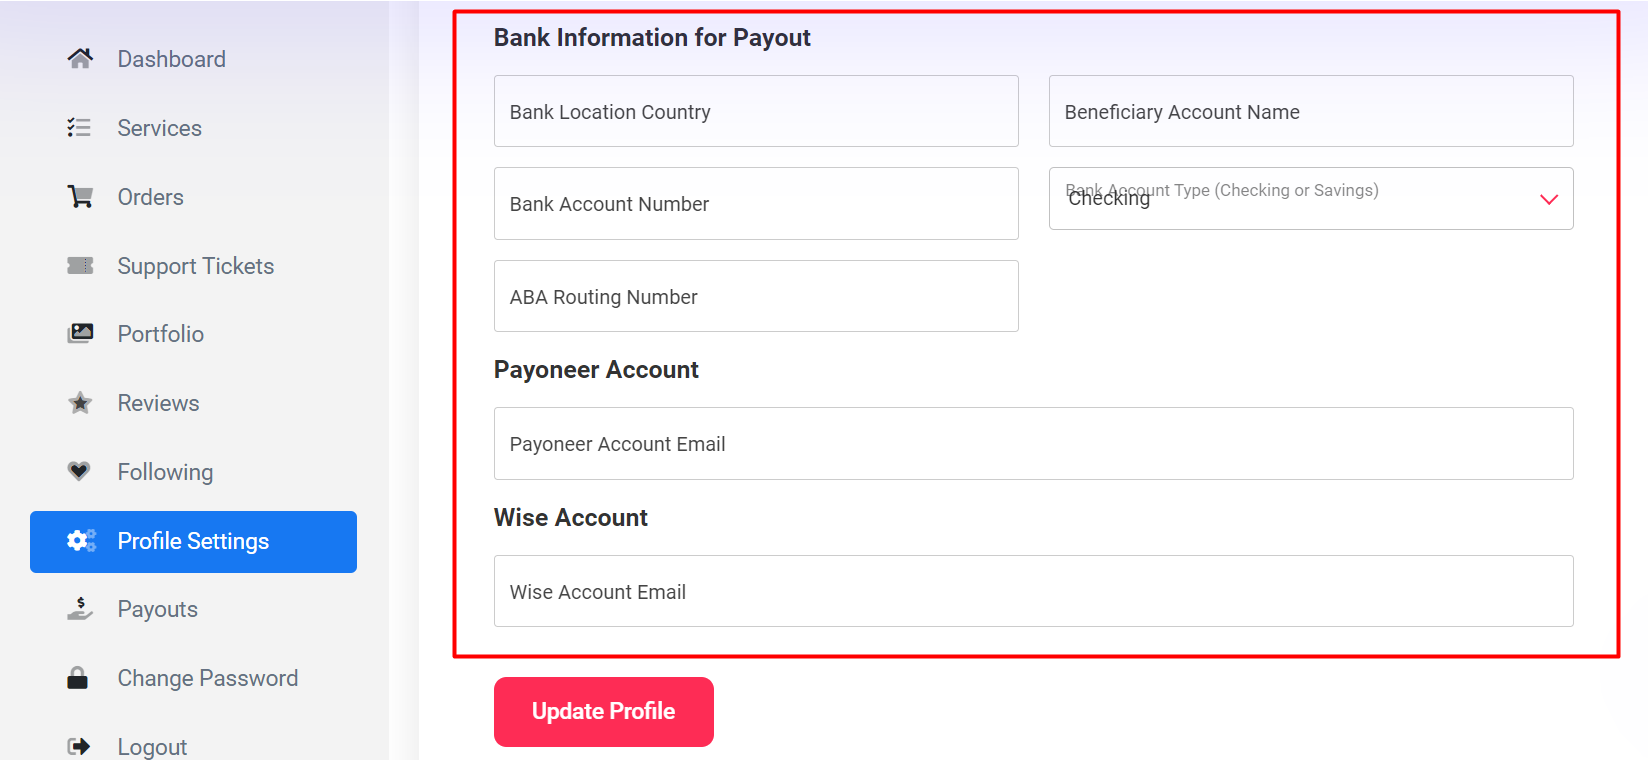
Withdraw Method
Here, influencers can set their payment method details. By default, options include bank transfer, Payoneer, and Wise.
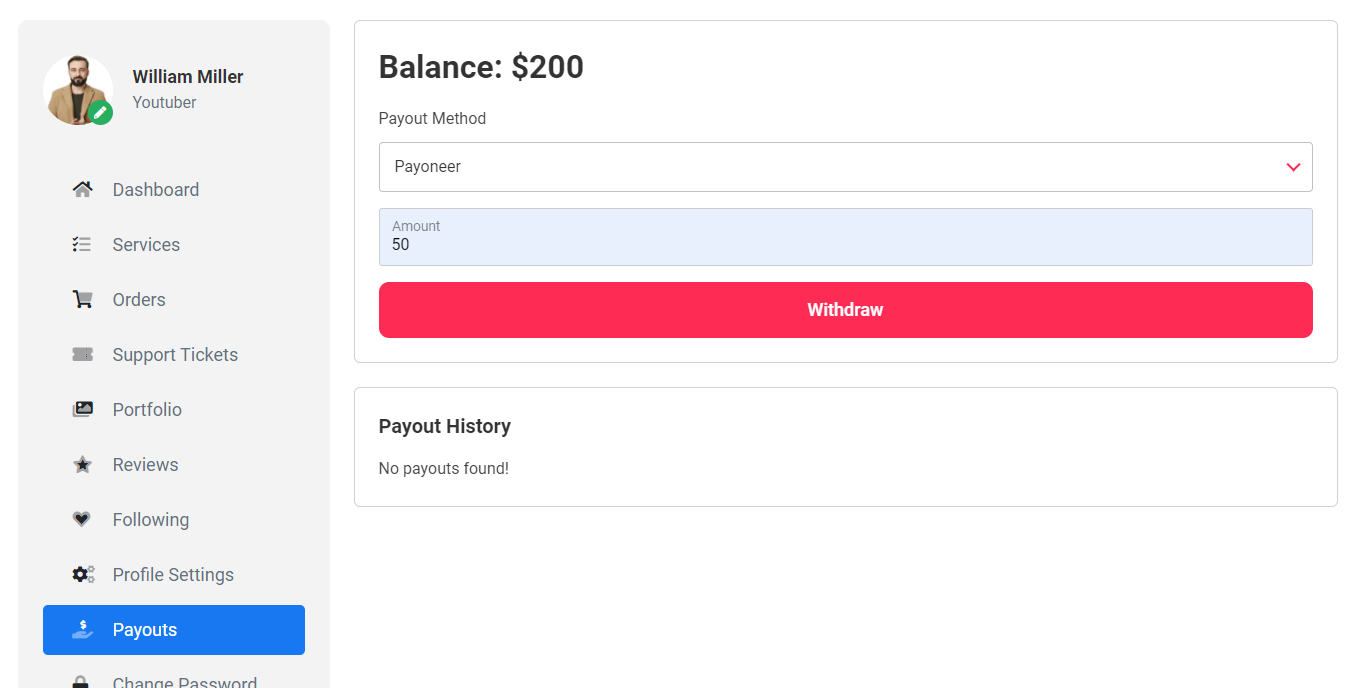
Payment Withdraw
Once enough balance exists, the influencer can request withdrawal from the payout section to their preferred method. The admin will then manually pay them using their chosen method.
Client Registration
From the top menu, Client can click on registration.
Client Dashboard
After login, Client will see his dashboard.

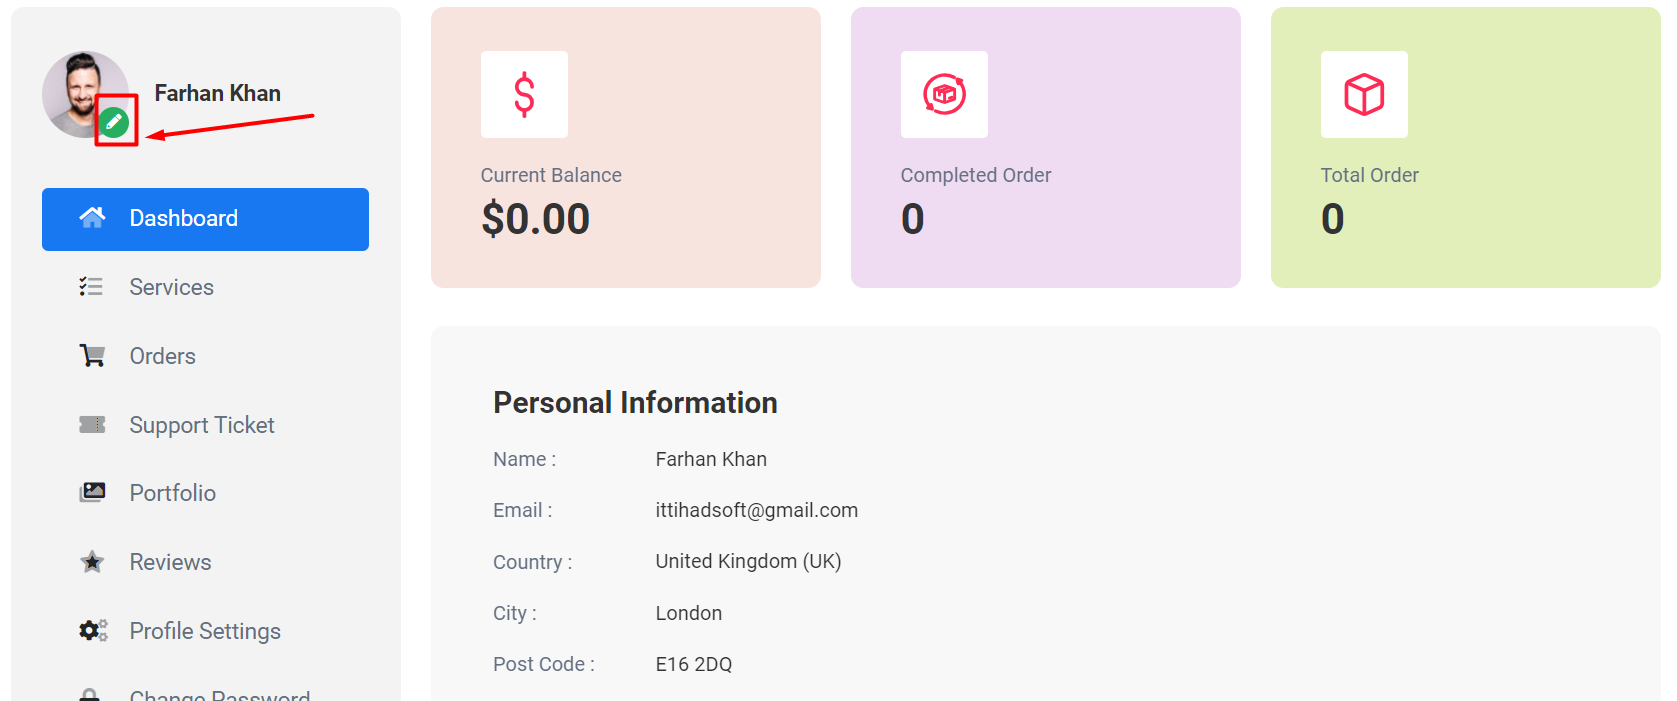
Client Profile
Client can edit his profile from click the edit button. See..
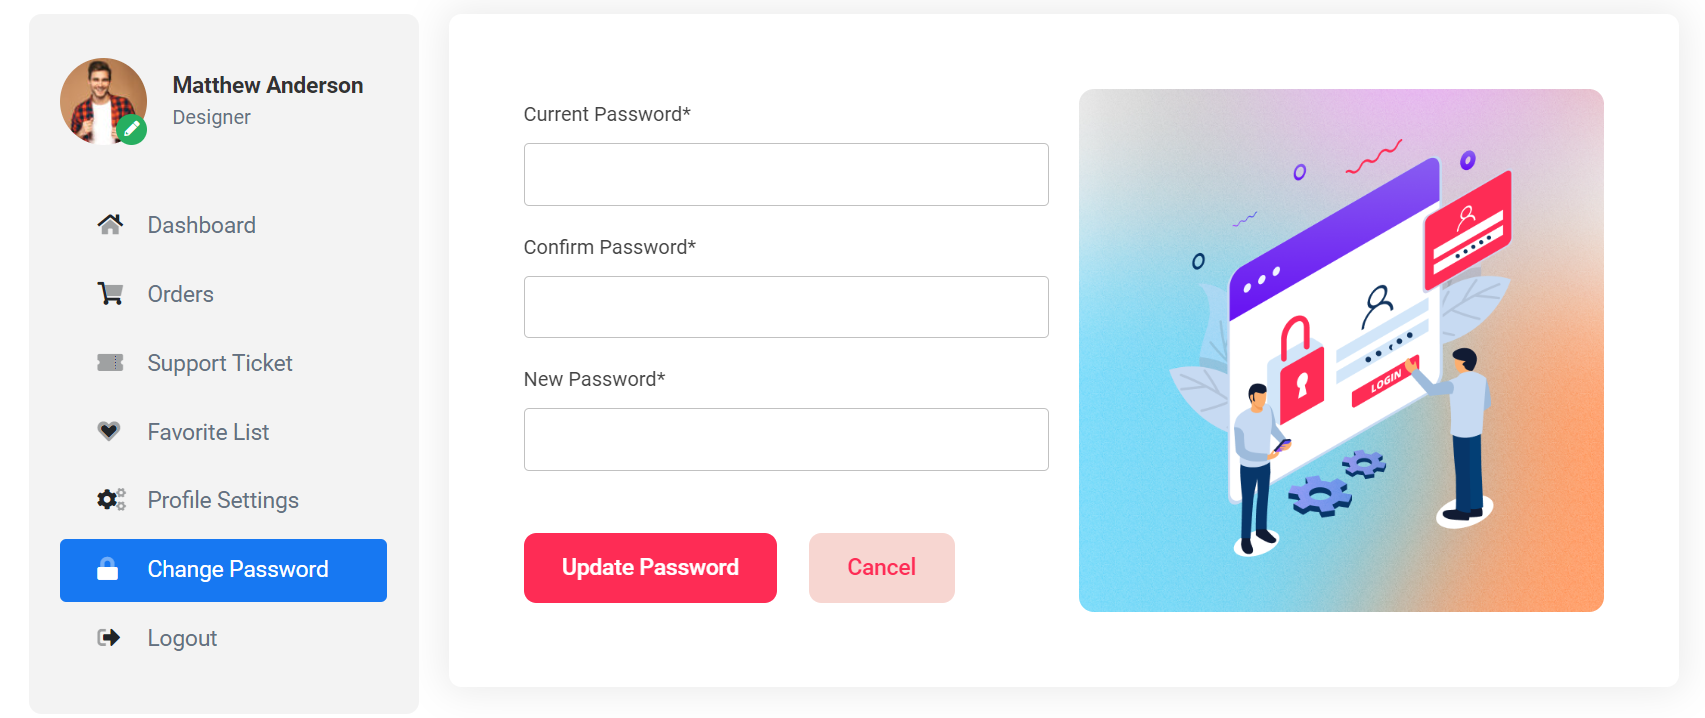
Change password
Client can edit his password from sidebar. See...
Support Ticket
Client can easily create a ticket from sidebar. He can share his problem with administrator by create a ticket. See...
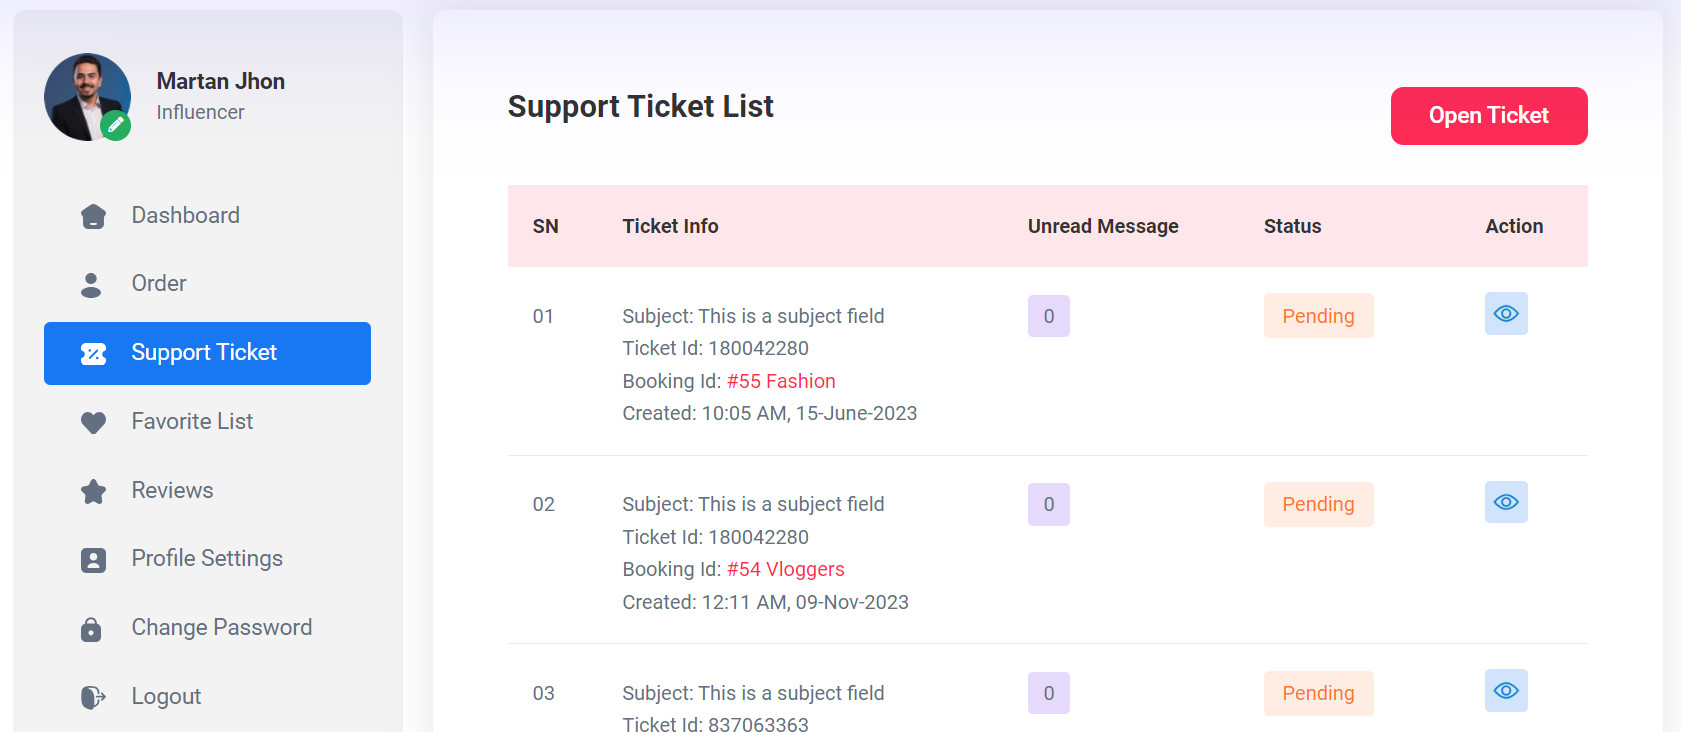
Order Or Booking
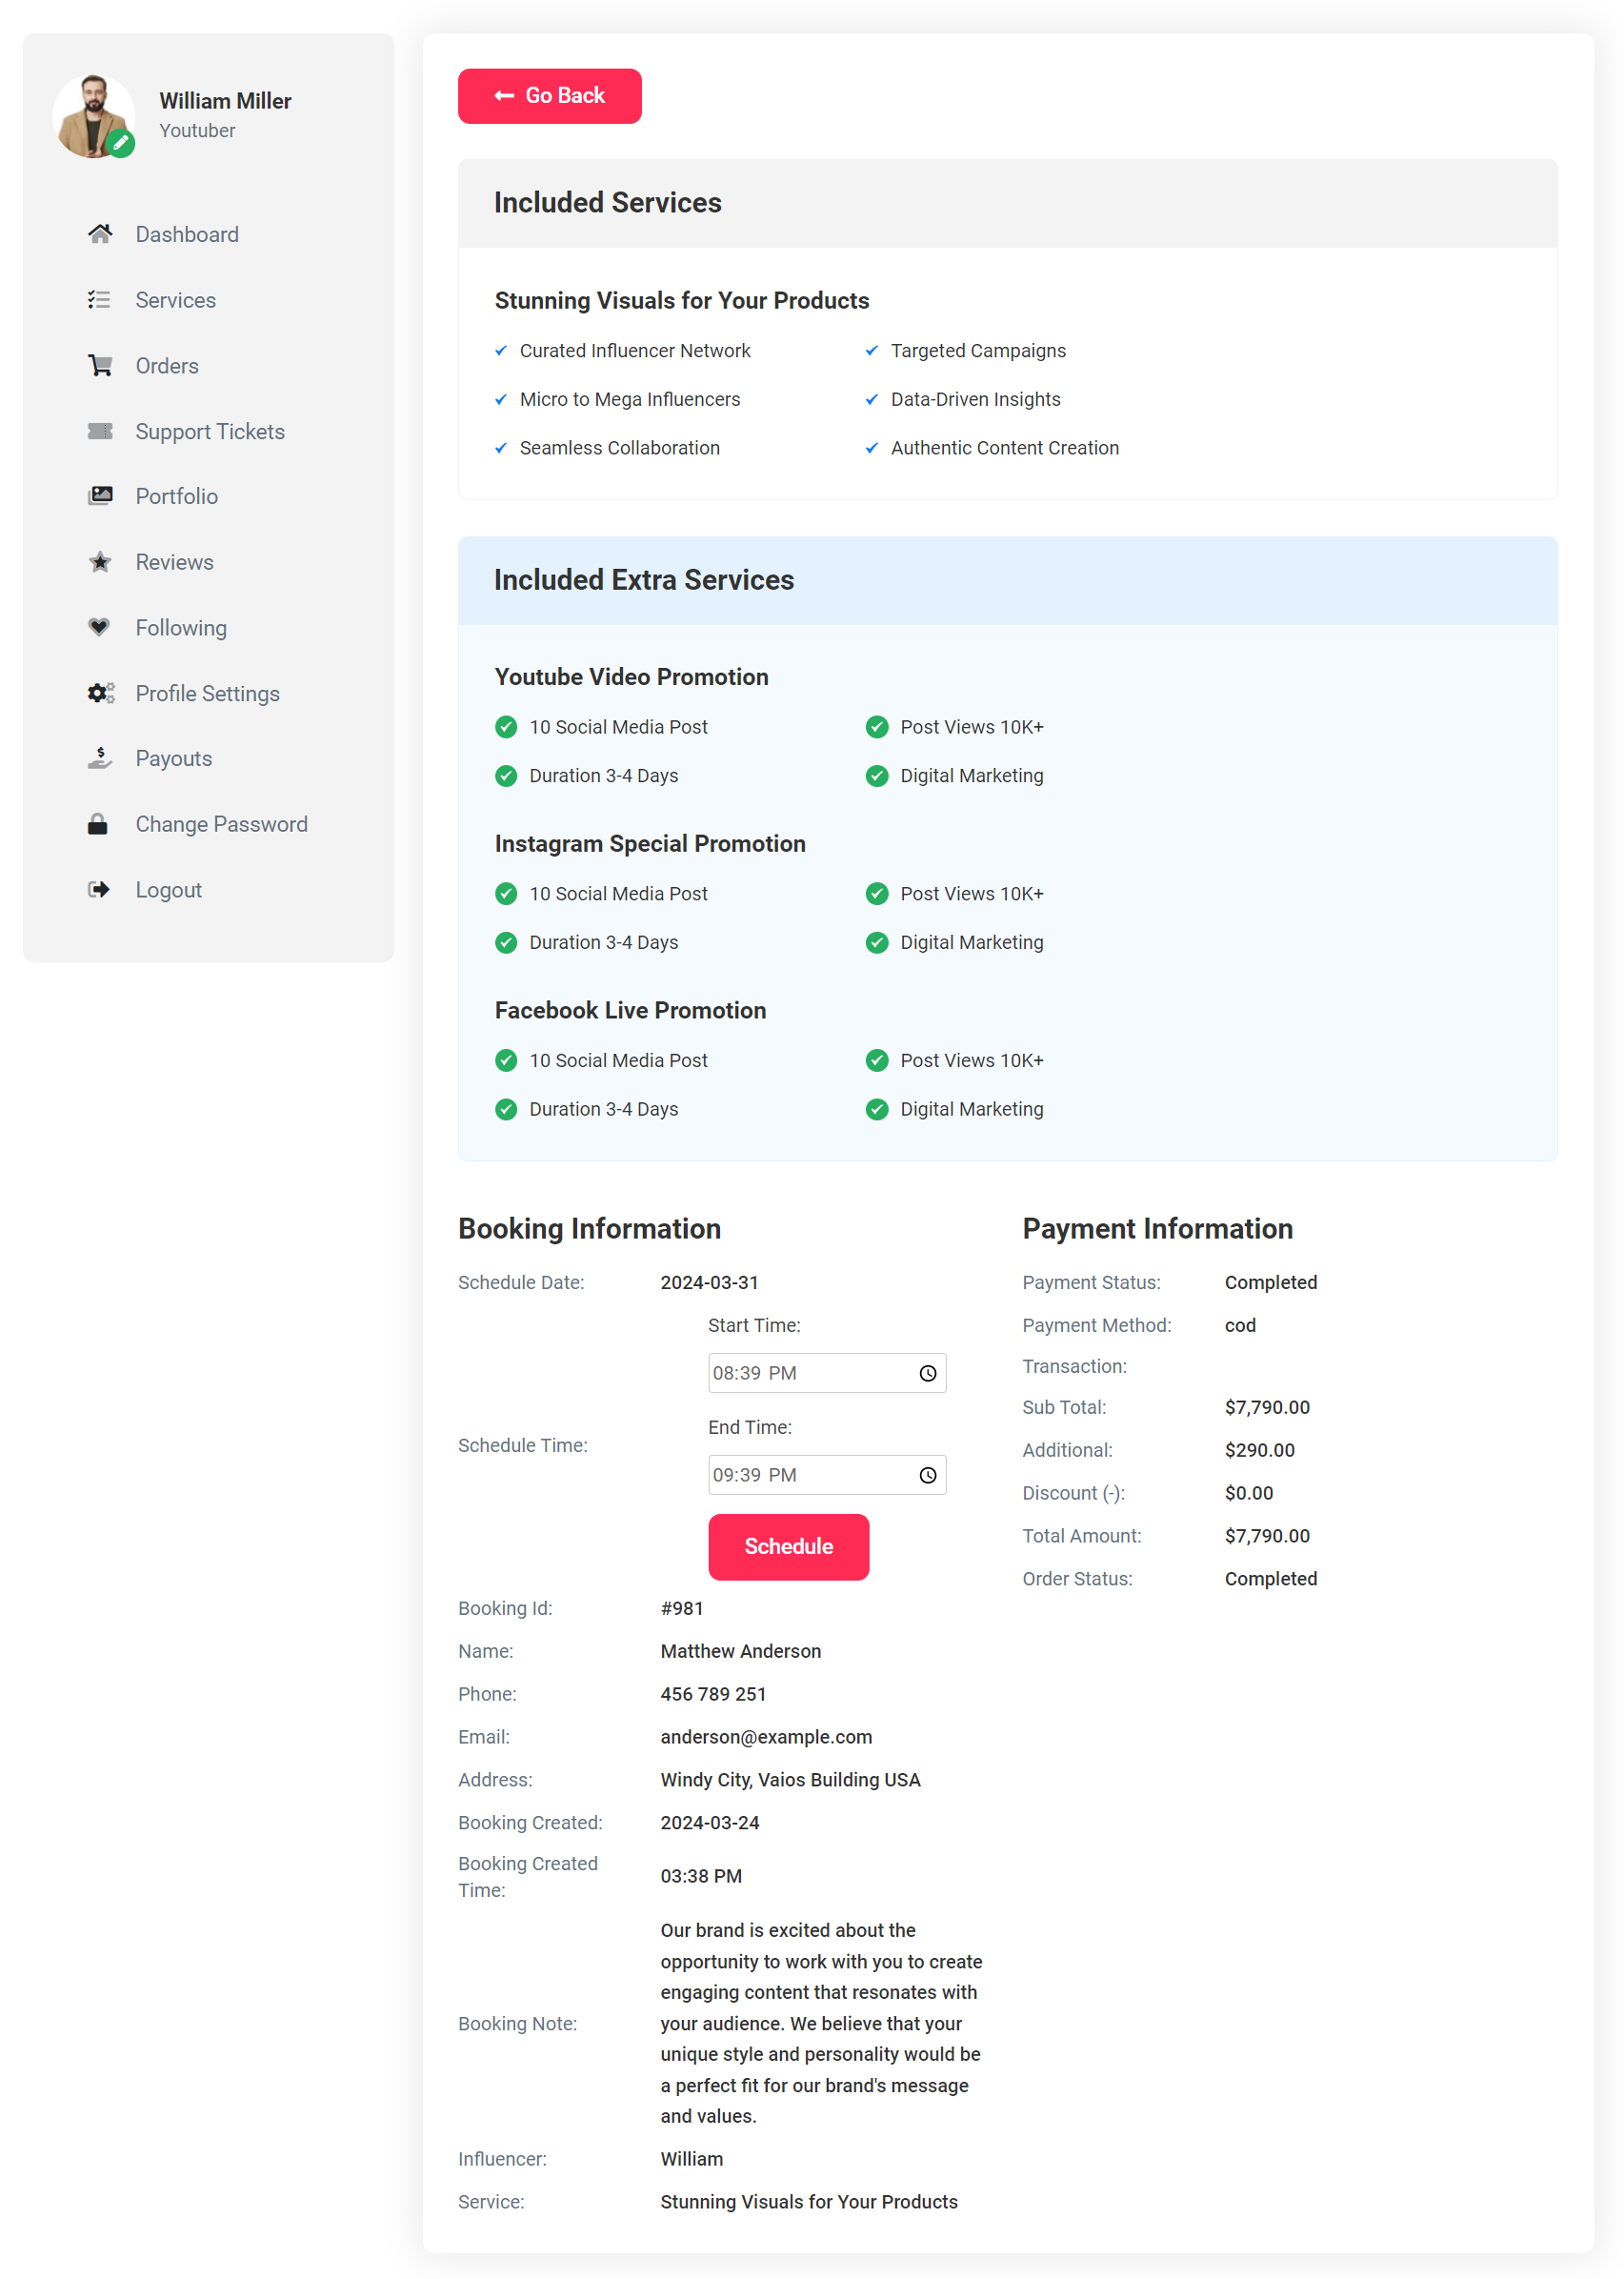
Client can see all his order or booking history as a list. He can also see booking detail by click the 'view details' icon. See...

Support
If you need any help from us, you can contact via our support email:
[email protected]
Our support will reply within 24-48 hours.
Update Log History
Version 1.0
Initial Release